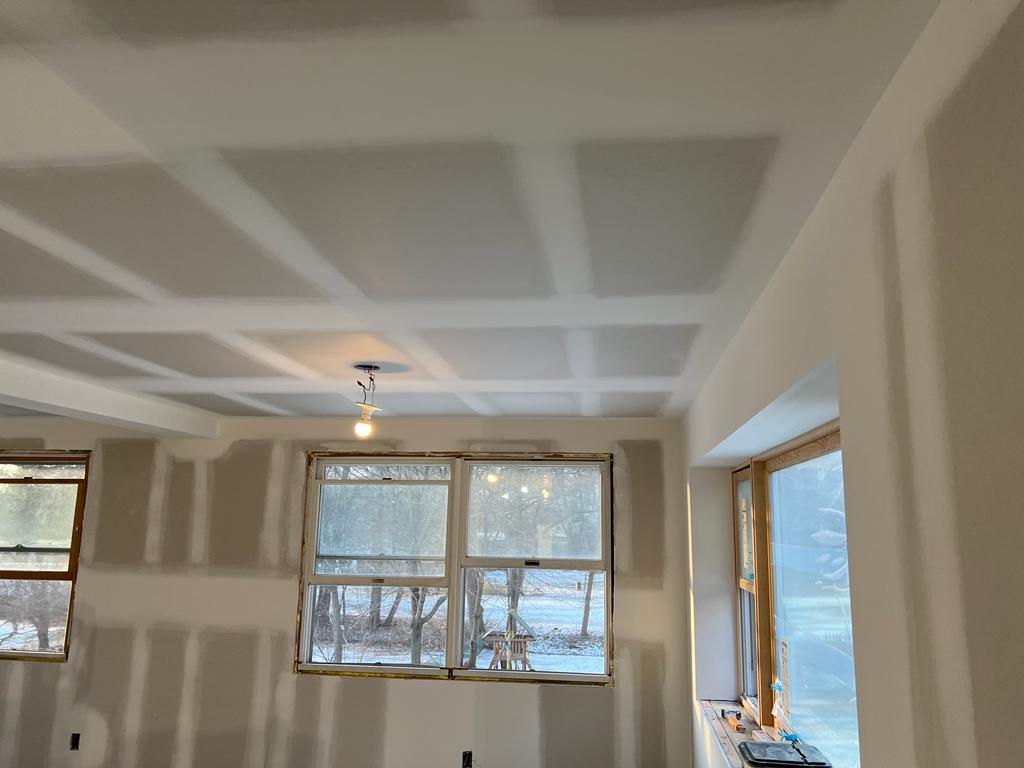
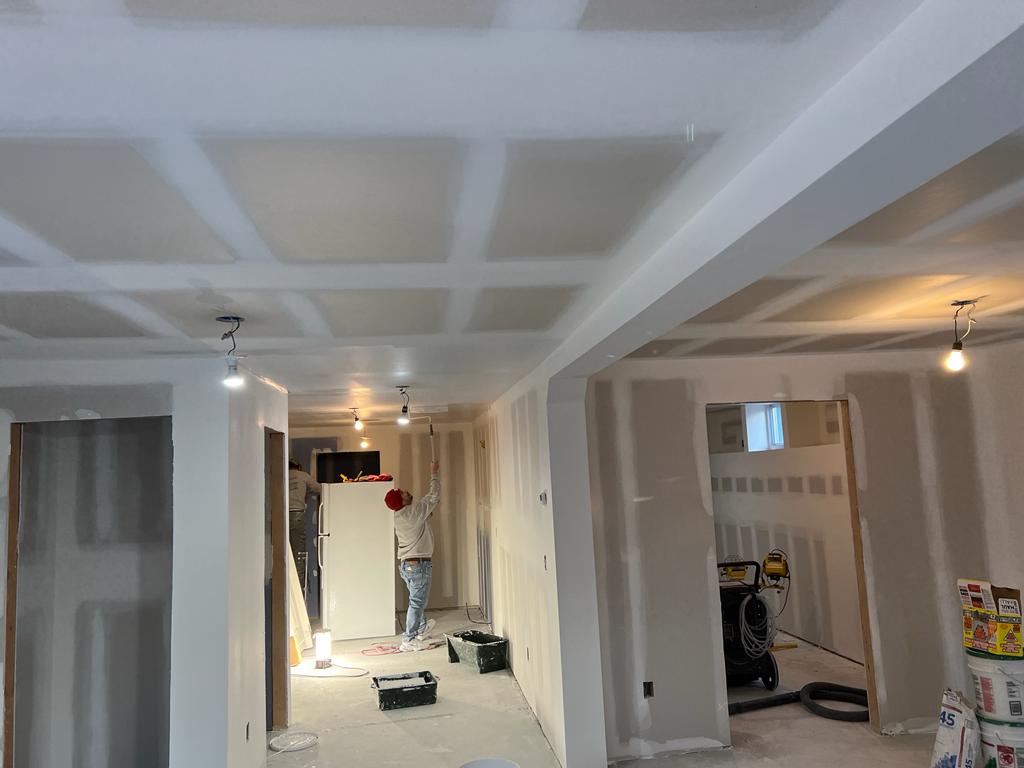
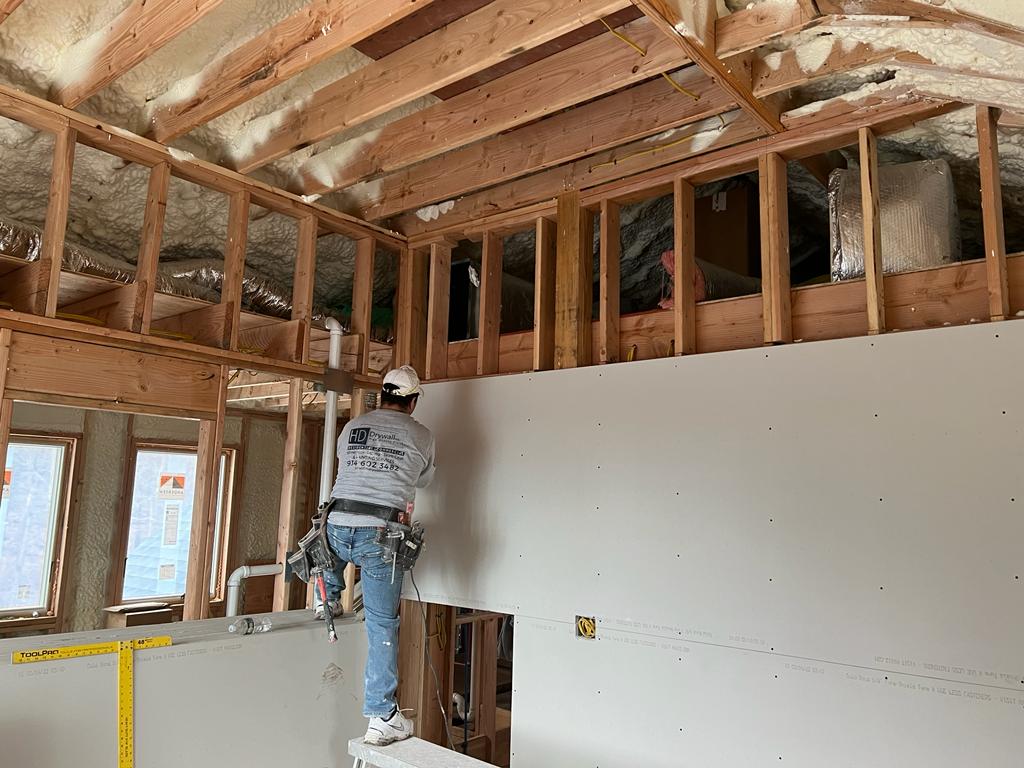
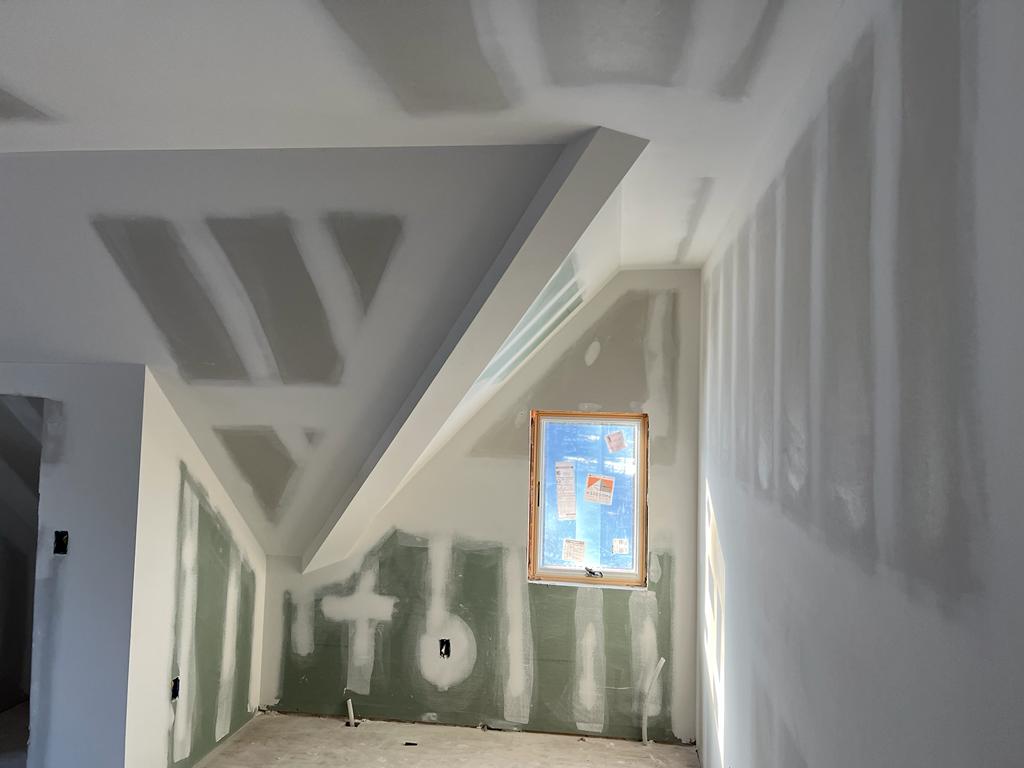
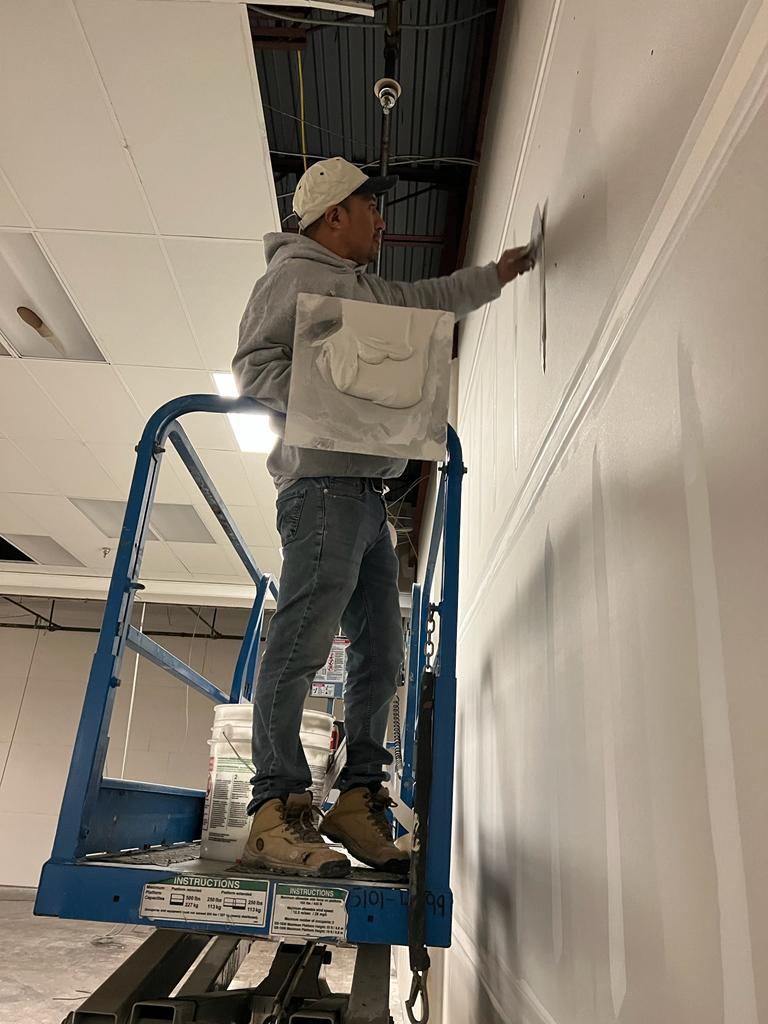
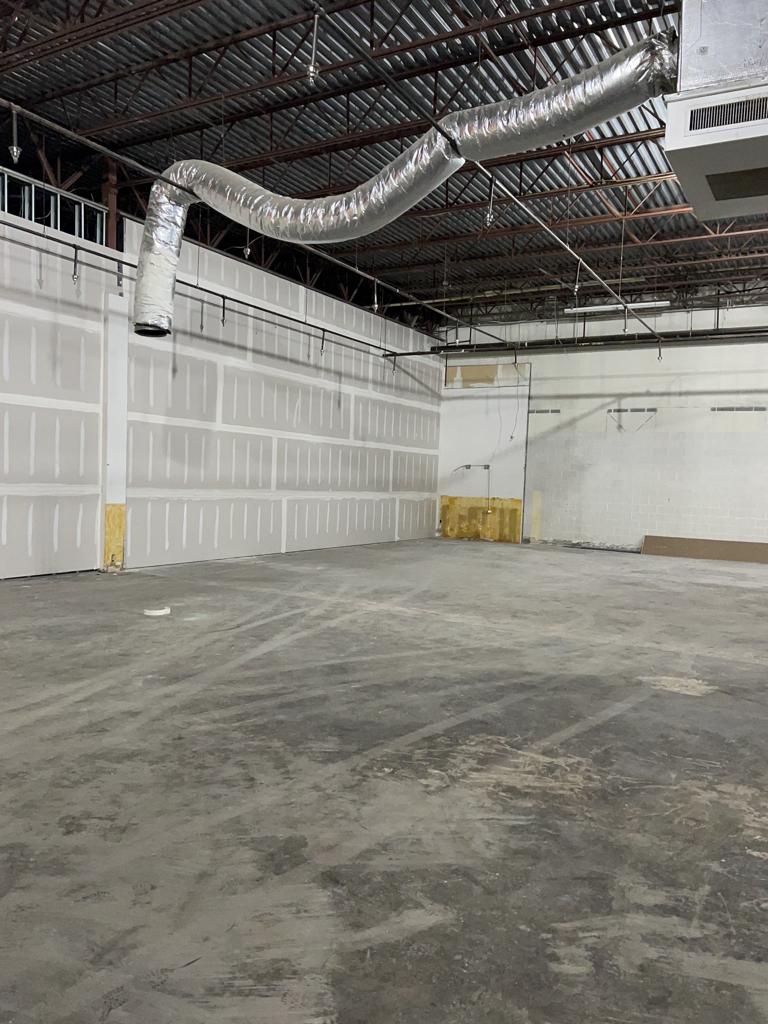
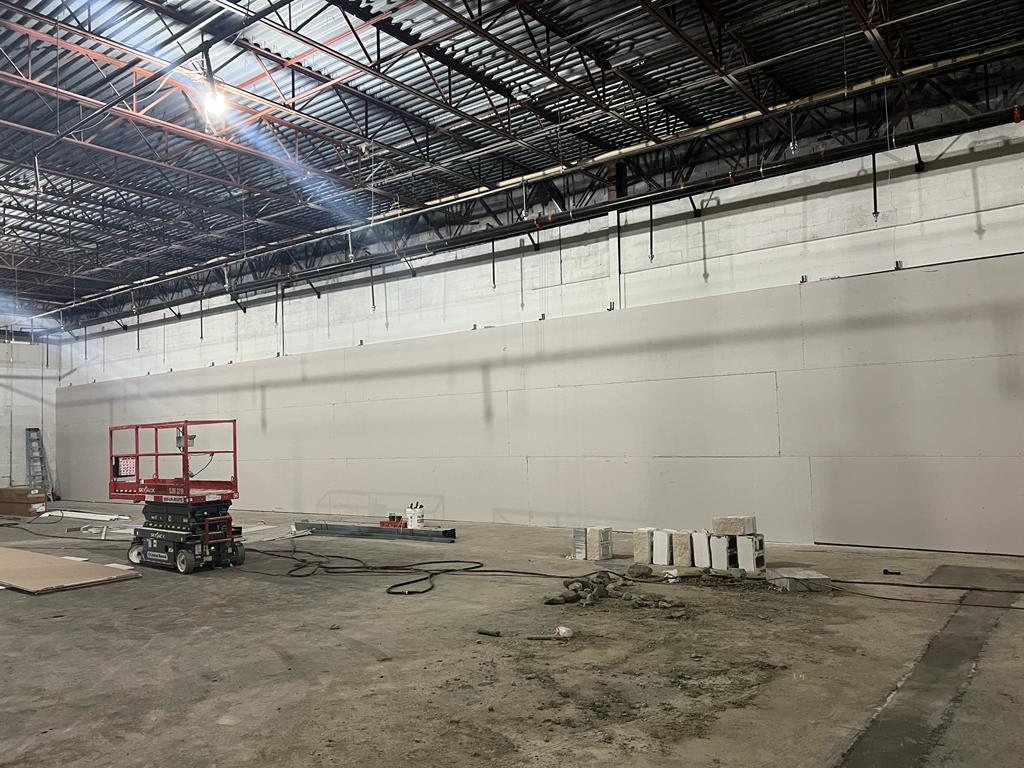
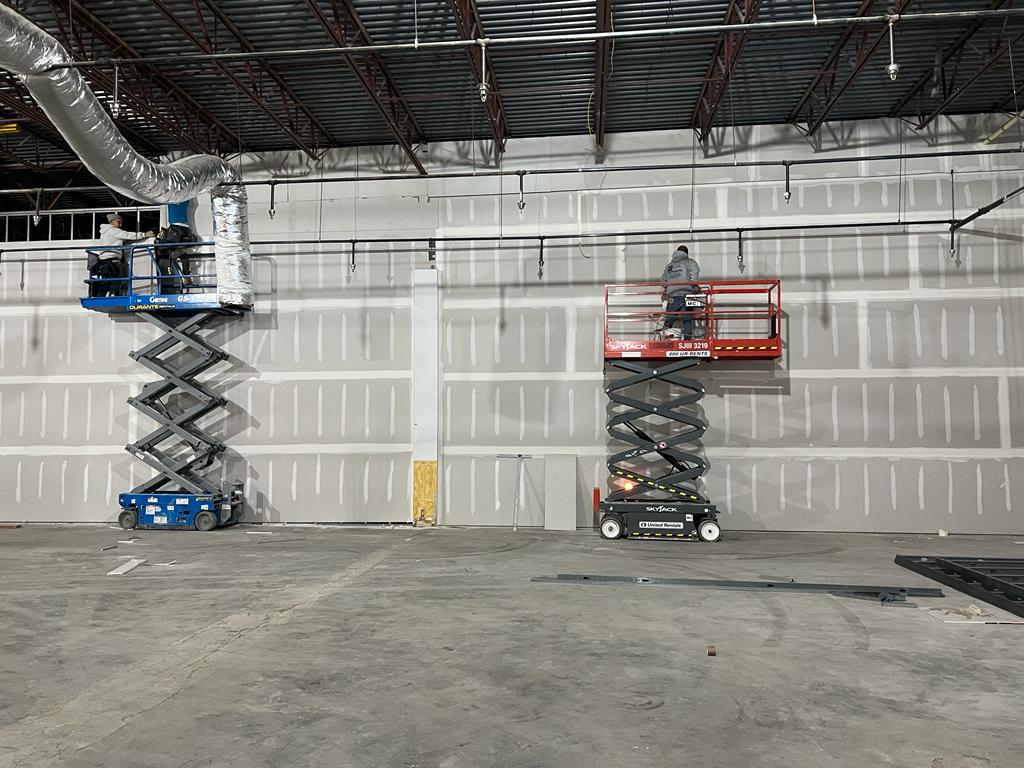
Important Gypsum Board finish requirements are specified on almost every construction project. Either a small wall or room, or entire areas, gypsum board finishes are a standard among construction professionals, and every level has its particular characteristics. Follow these guidelines to obtain your required gypsum board finish level.
Level 0
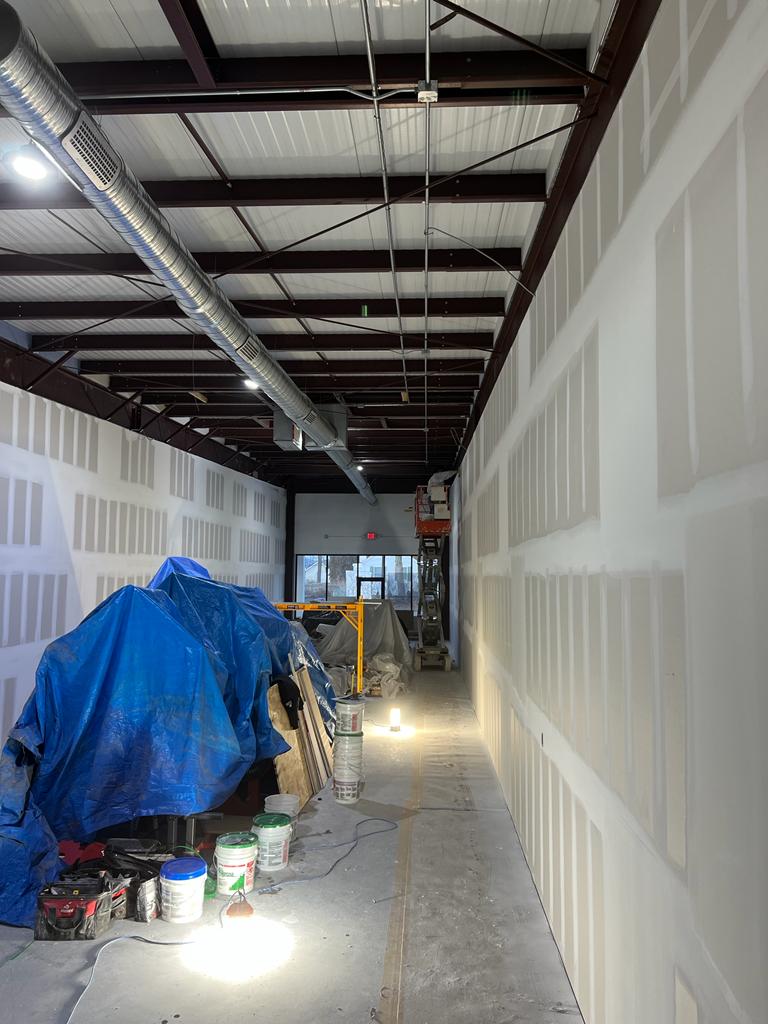
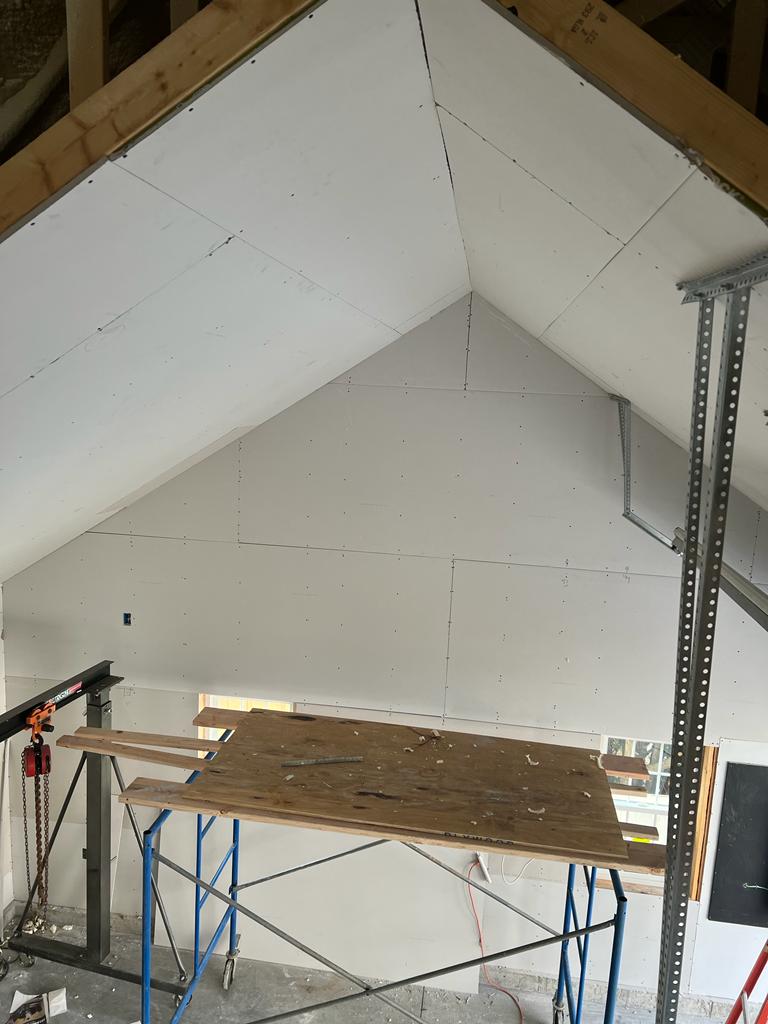
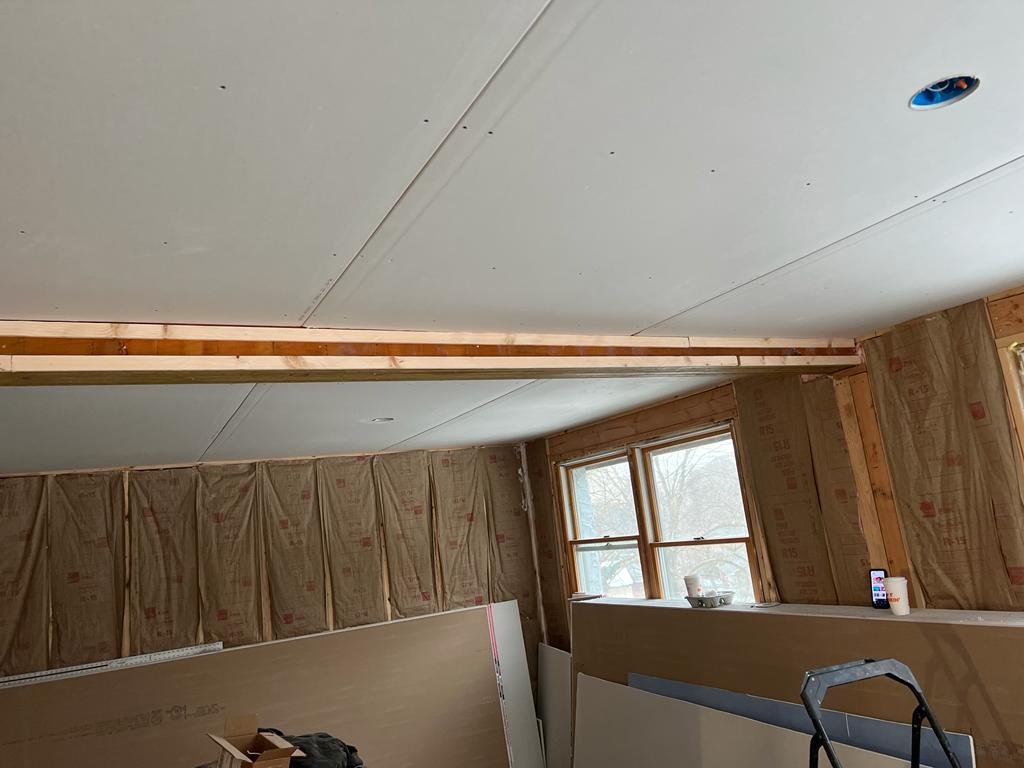
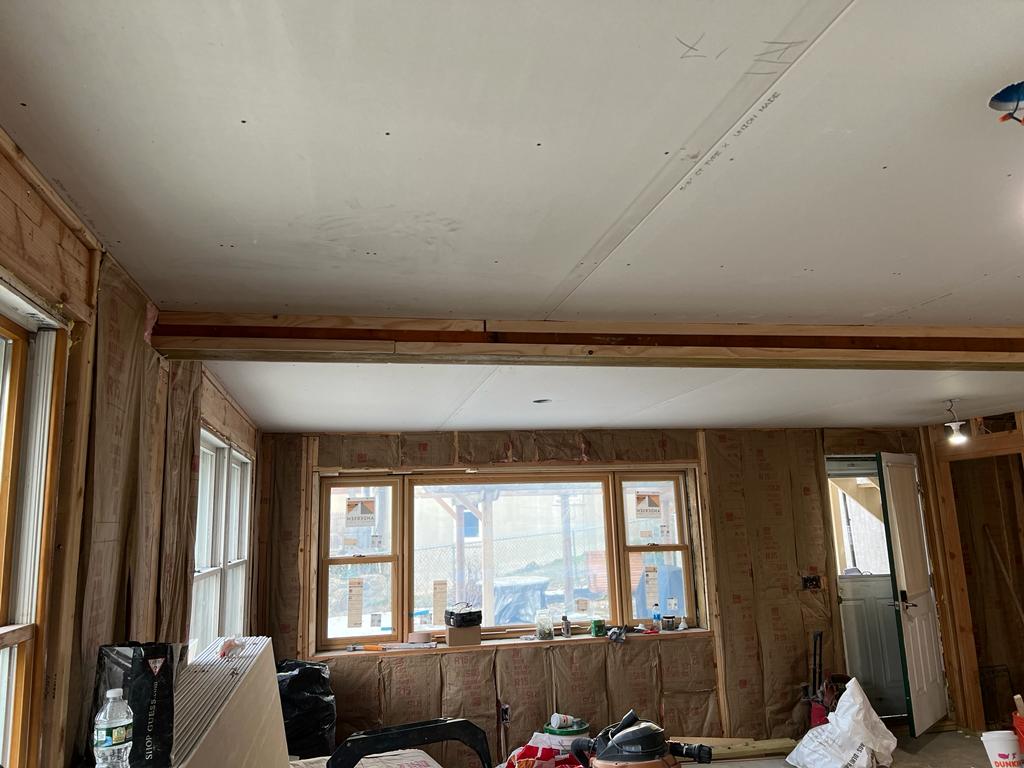
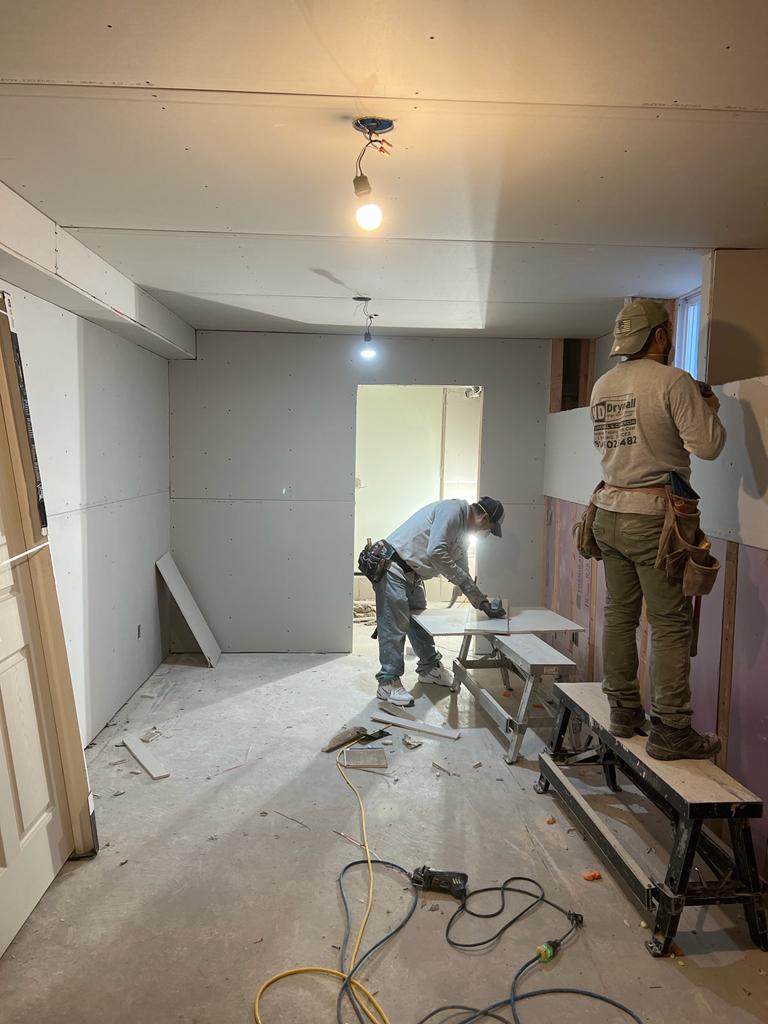
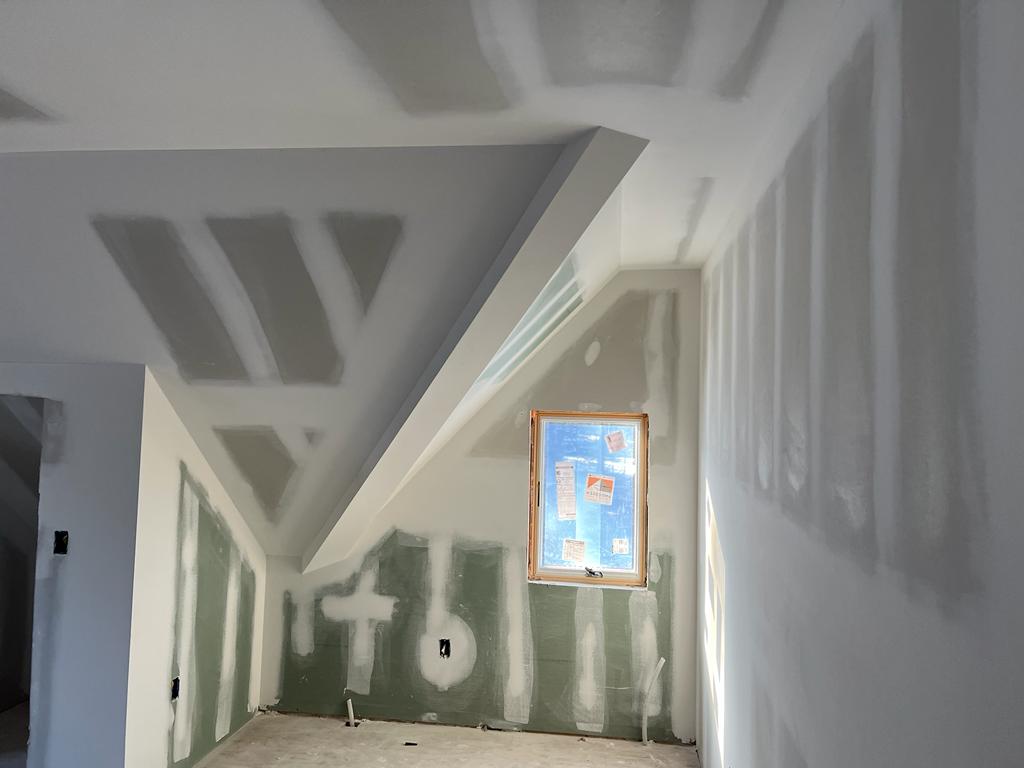
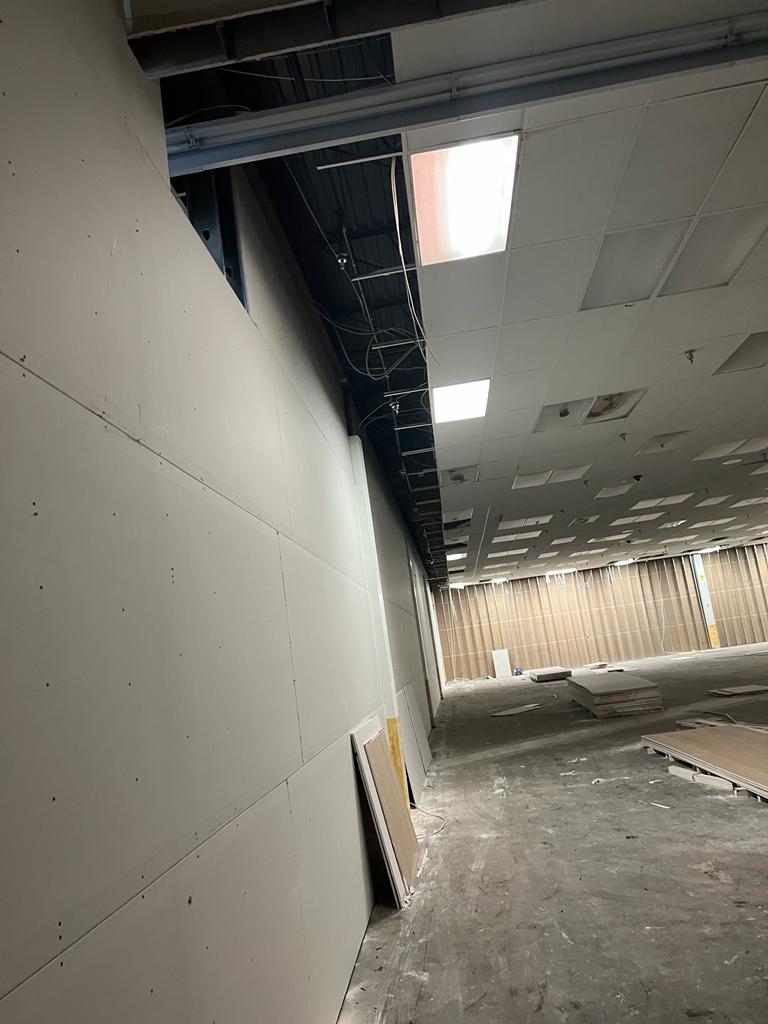
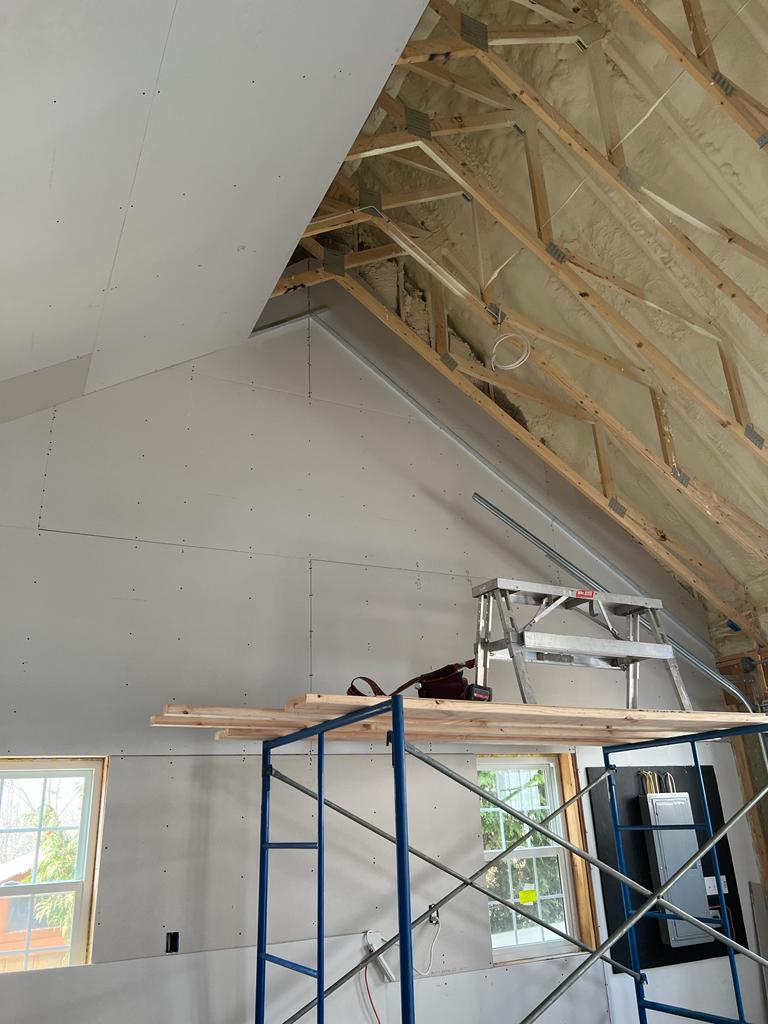
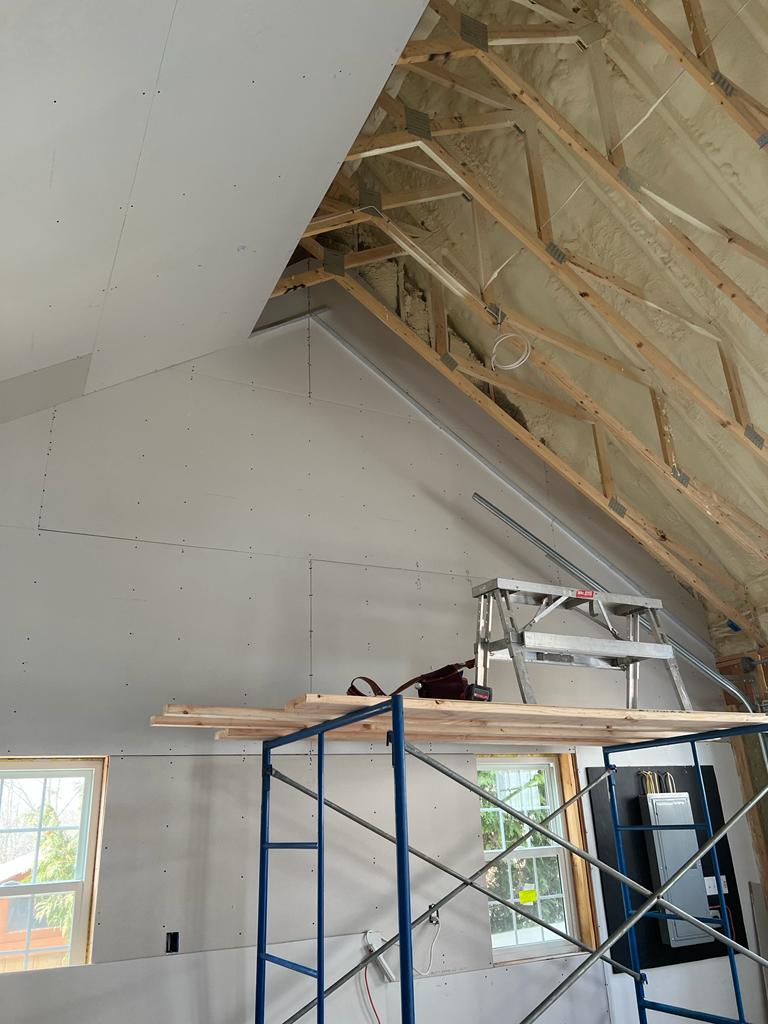
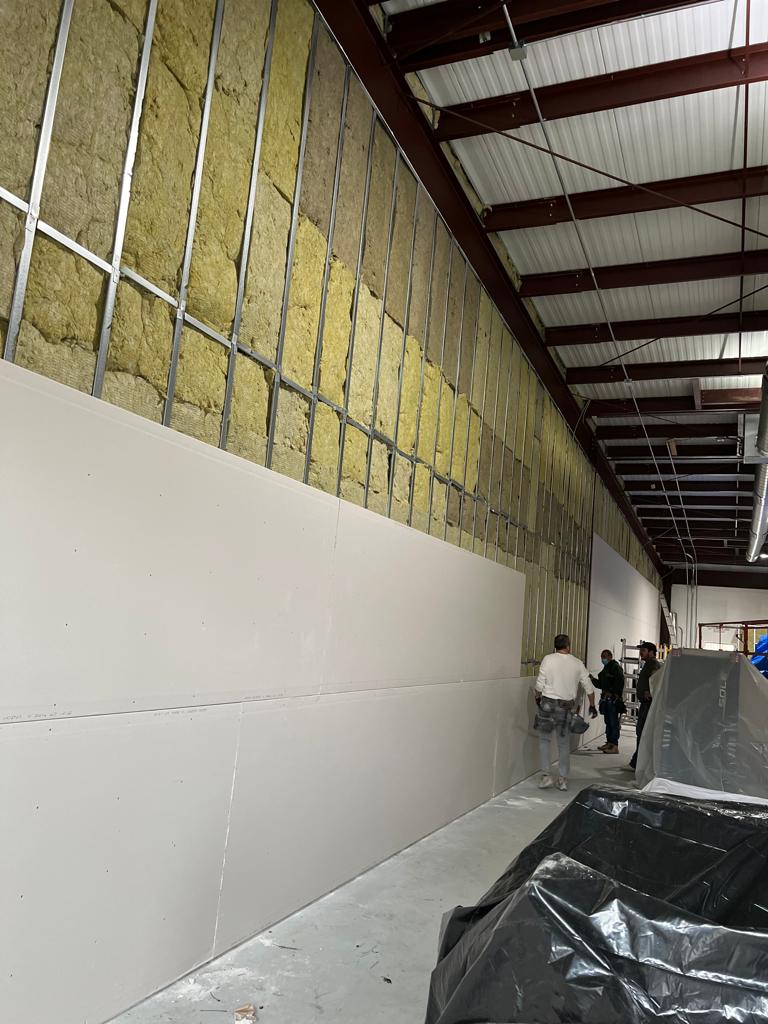
- This level might be used in temporary construction such as mall storefronts, temporary hallways, walls, and structures. No taping or finishing is required on this level. It can also be used in areas where final wall covering or decoration has not been selected.
Level 1
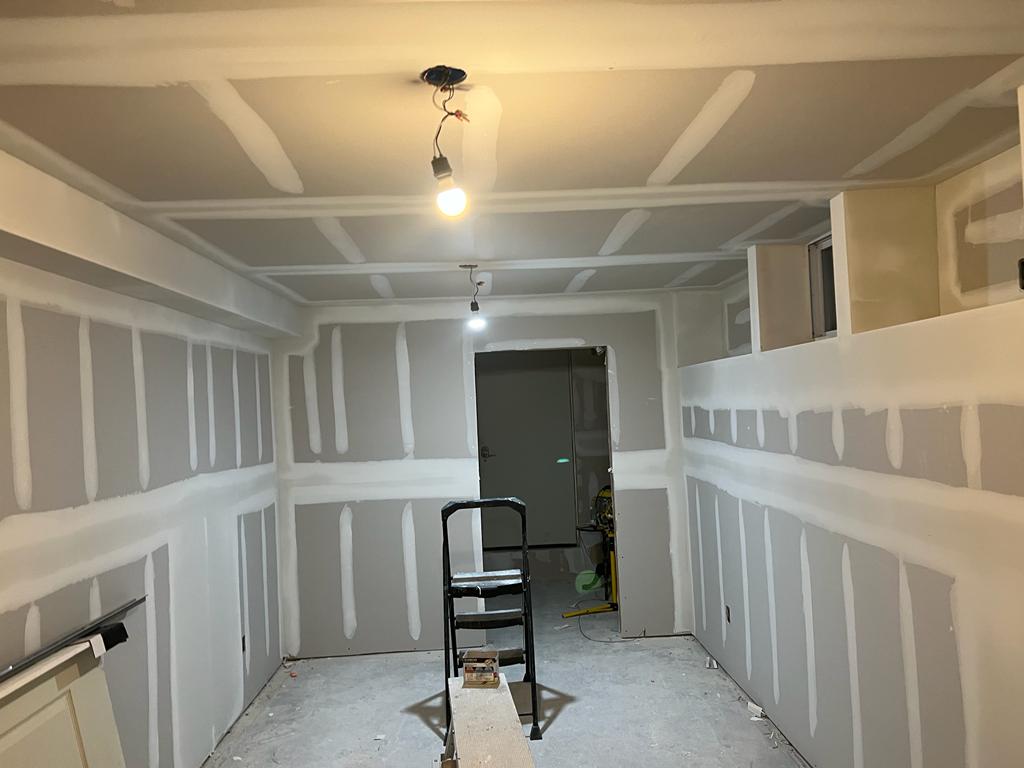
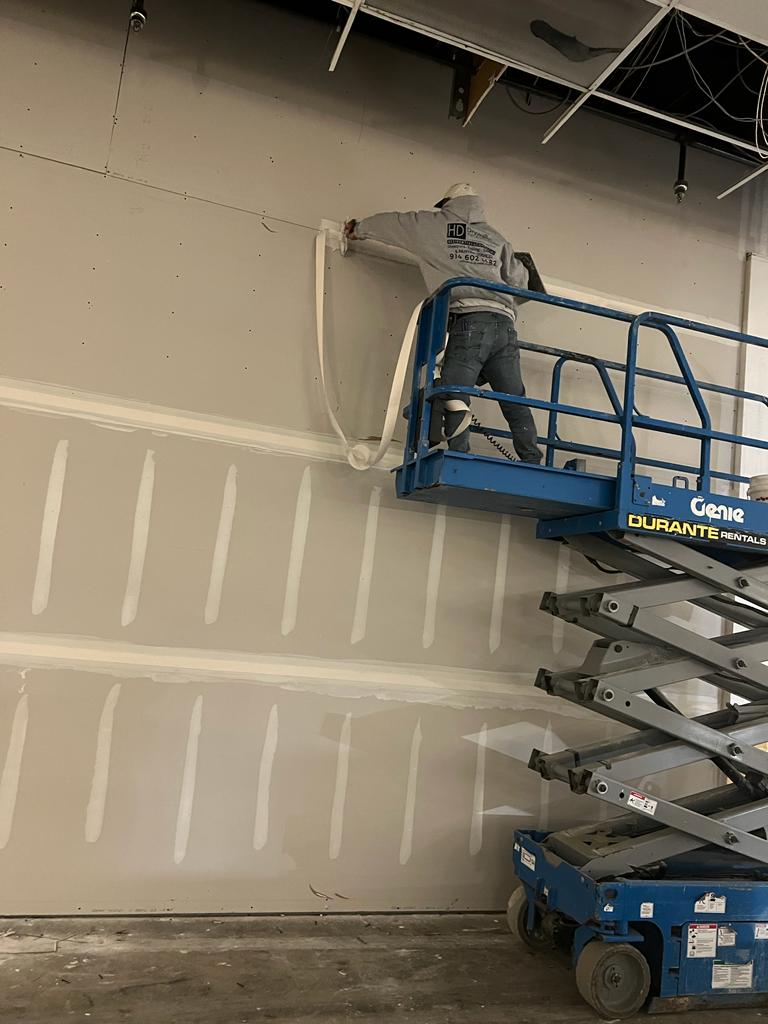
In these level, gypsum board surfaces can be left free of excess joint compound. All joints and interior angles must have the tape set in the joint compound. The tape and fastener heads need not be covered with joint compound, ridge and tool marks are acceptable.
This type of finishing is recommended in areas that are not normally open to the public. Some kind of fire rating and sound protection could also be required. It is normally required in plenum areas above ceilings, service corridors, store receiving areas, attics, and other areas where the angles and framing would be concealed
Level 2
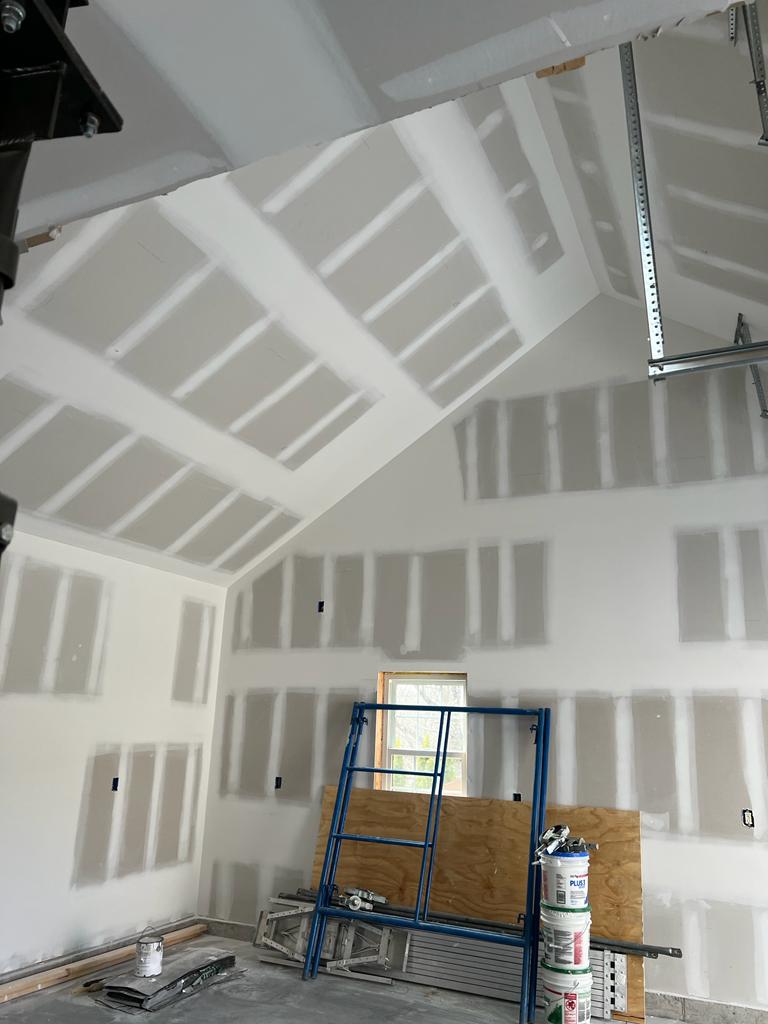
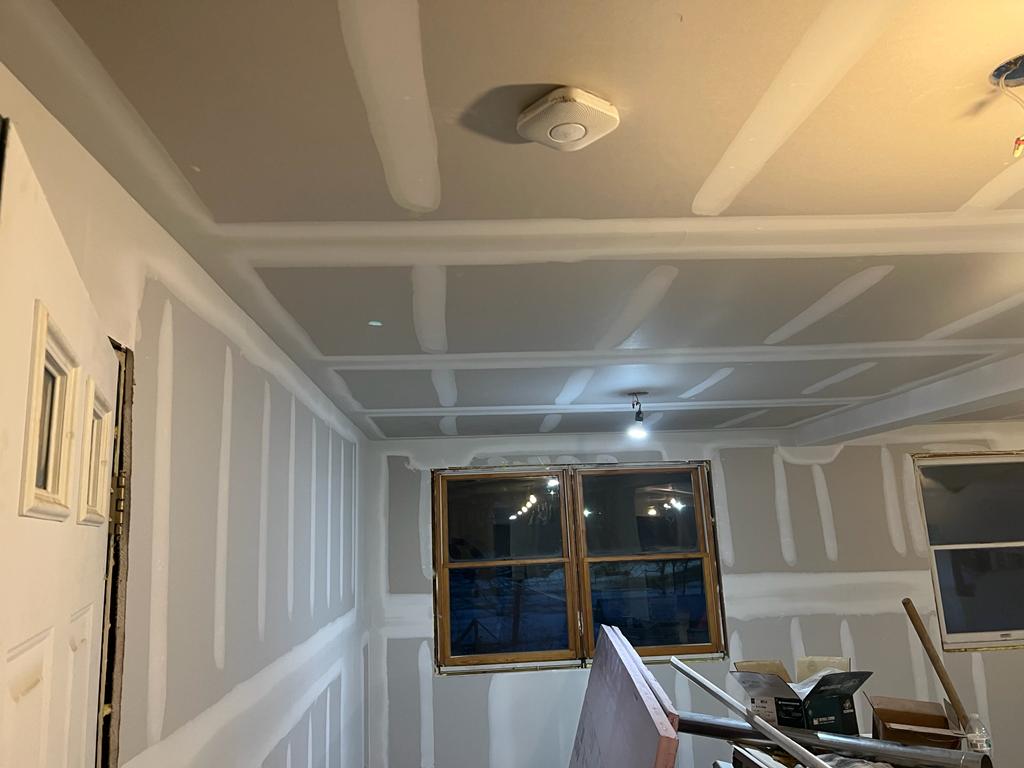
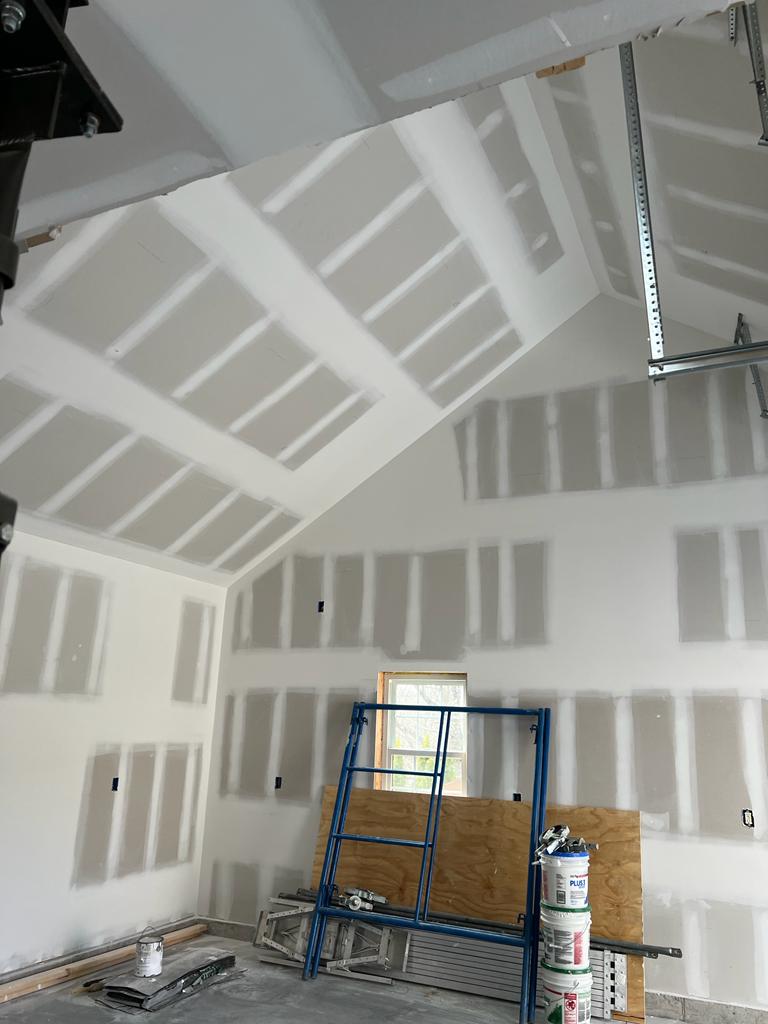
Gypsum board specified as a level 2 finish must be used in areas where neither the surface appearance is not a primary concern nor would be part of a building facade. All joints and framing angles shall have tape embedded in joint compound and wiped with a joint knife leaving a thin coating over all joints and angles.
The finish surface must be free of excess joint compound, and it must be applied over all fastener heads. Normally specified in areas where gypsum board is used as a substrate for tile, or garages, storage areas, and other areas not open to pedestrians. It is important that joint compound applied over the drywall tape at the time of embedding shall be considered a separate coat as required
Level 3
Finishing gypsum board for a level 3 requires skills and knowledge. Level 3 finish is to be used in areas to be finished with a medium to heavy texture, spray or hand-applied, or areas where wall coverings will be used as final decoration. This type of finish is not acceptable in areas where smooth painted surfaces or light wall coverings are to be used.
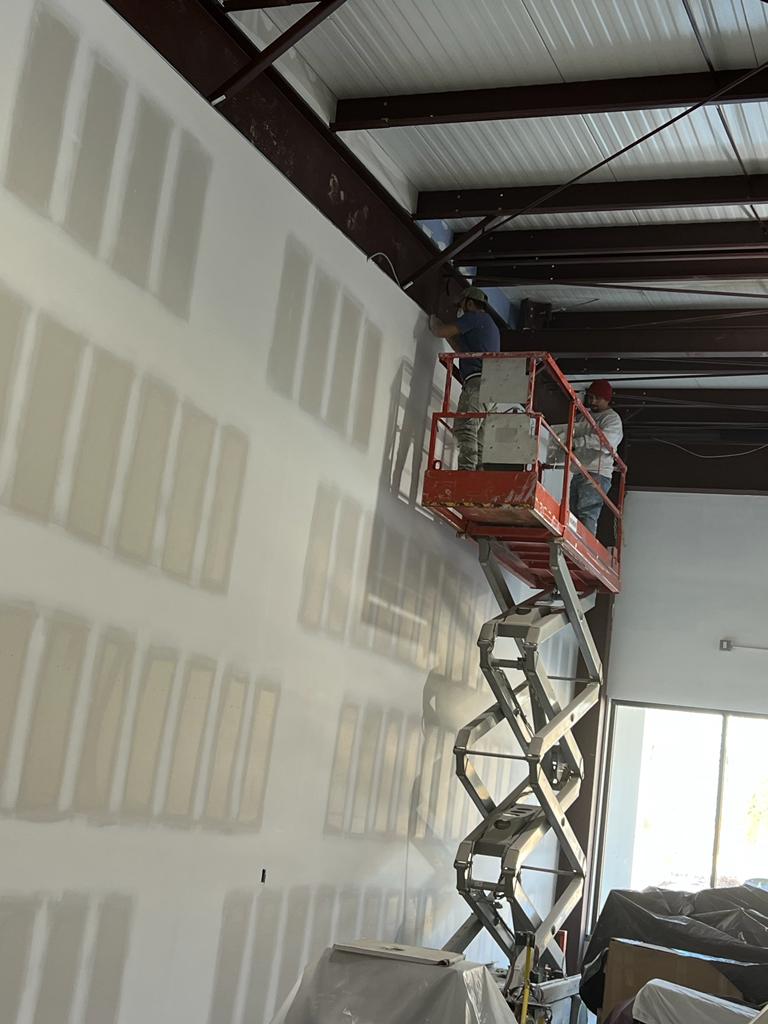
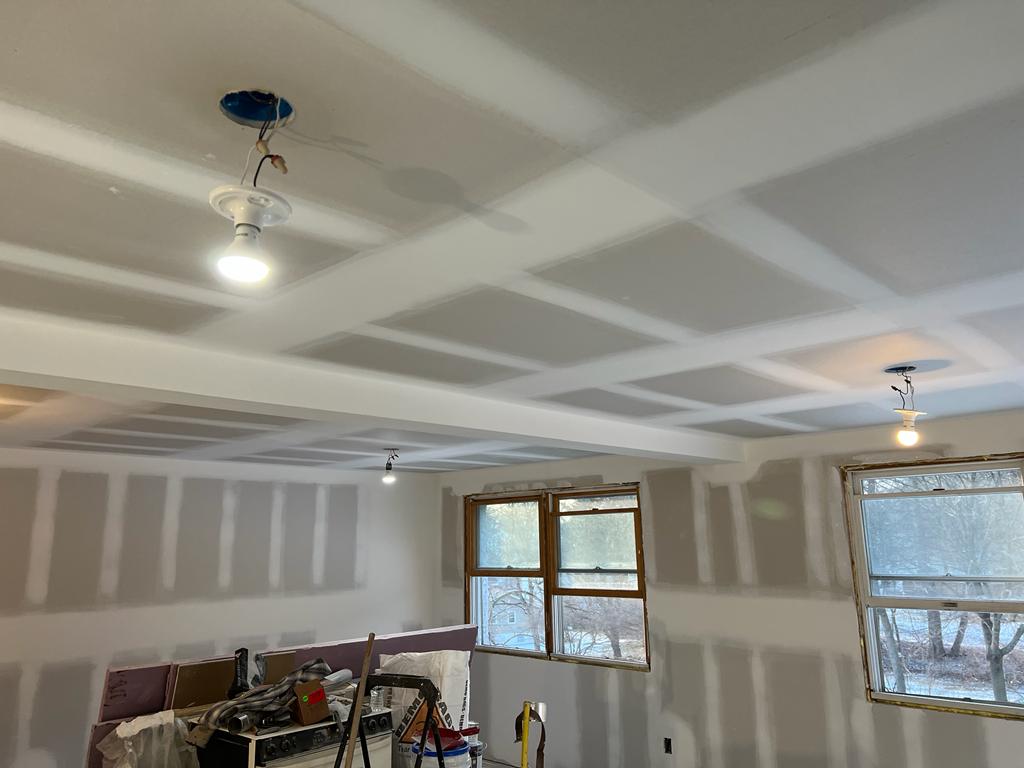
On this level, gypsum board shall be coated with a drywall primer before applying final finishes. A thin uniform coating shall cover all joints and interior angles, and one additional coat of joint compound shall be applied over once again. No marks or tool ridges are accepted under this finish level, so the gypsum board must be finished smoothly. Accessories and fastener heads require two separate joint compound coats.
Level 4
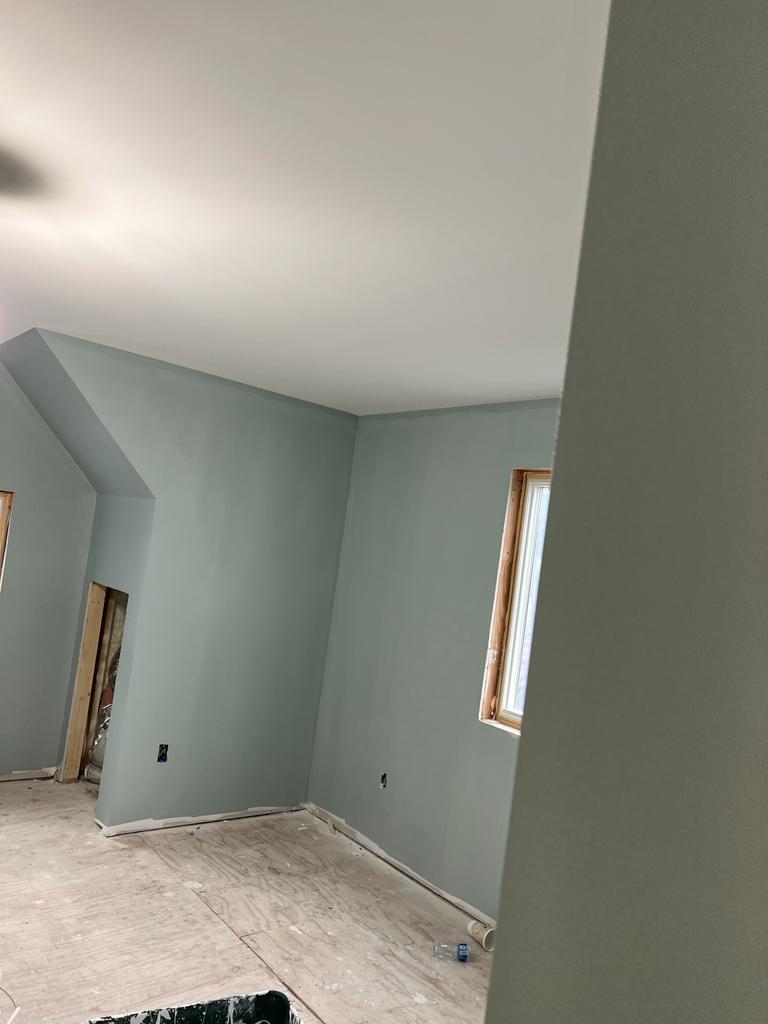
Gypsum board finish level 4 is recommended in areas receiving a flat paint, light textures or light-weight wall covering as final finish surfaces. Unbacked vinyl wall coverings are not recommended as finishing surface on this level. As recommended in level 3, gypsum board shall be coated with a drywall primer before applying final finishes. Gloss, semi-gloss and enamel paints should not be applied to a level 4 finish surface. Instead, flat paints will tend to reduce joint photography.
It is very important to choose a correct wall finish or texture on this level, otherwise, the surfaces could be showing defects and finishing marks. To avoid these types of problems, fastener heads and accessories shall have three separate joint compound coats. Two separate coats of joint compound shall be applied over all flat joints and one separate coat of joint compound shall be applied over interior angles.
Level 5
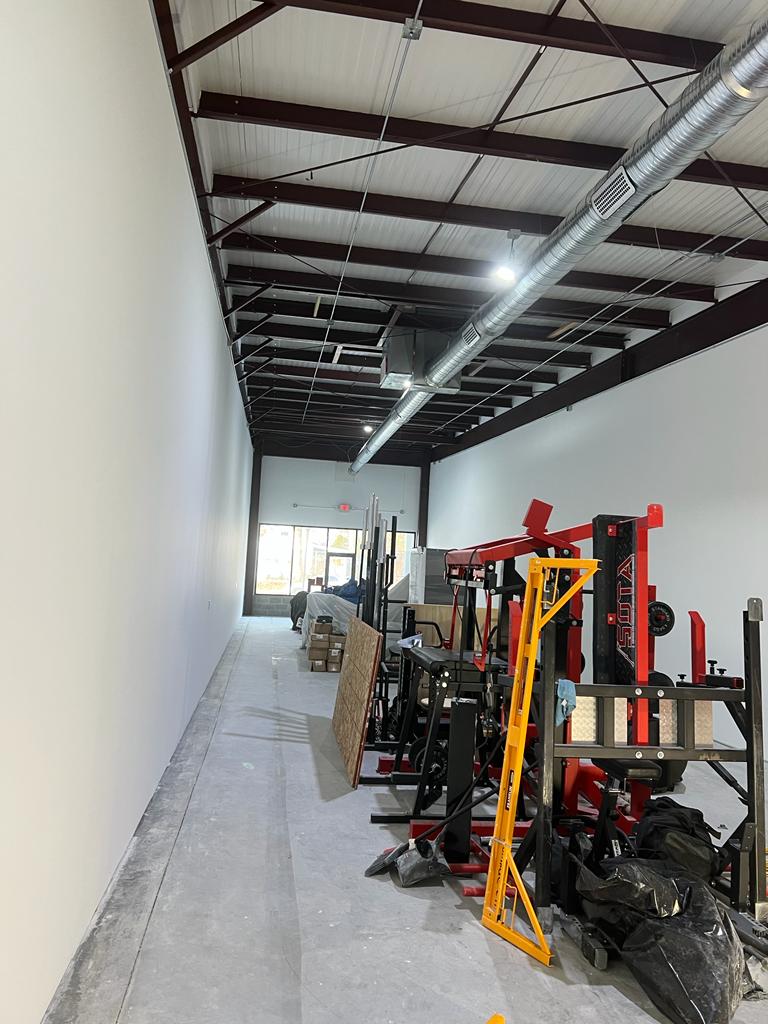
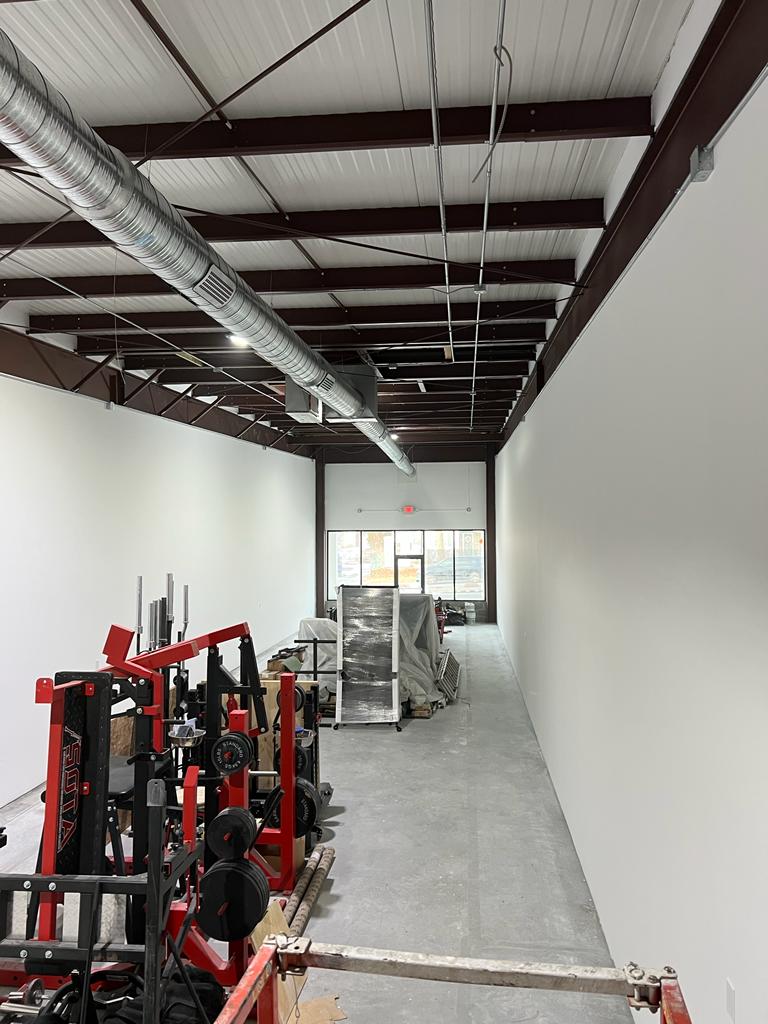
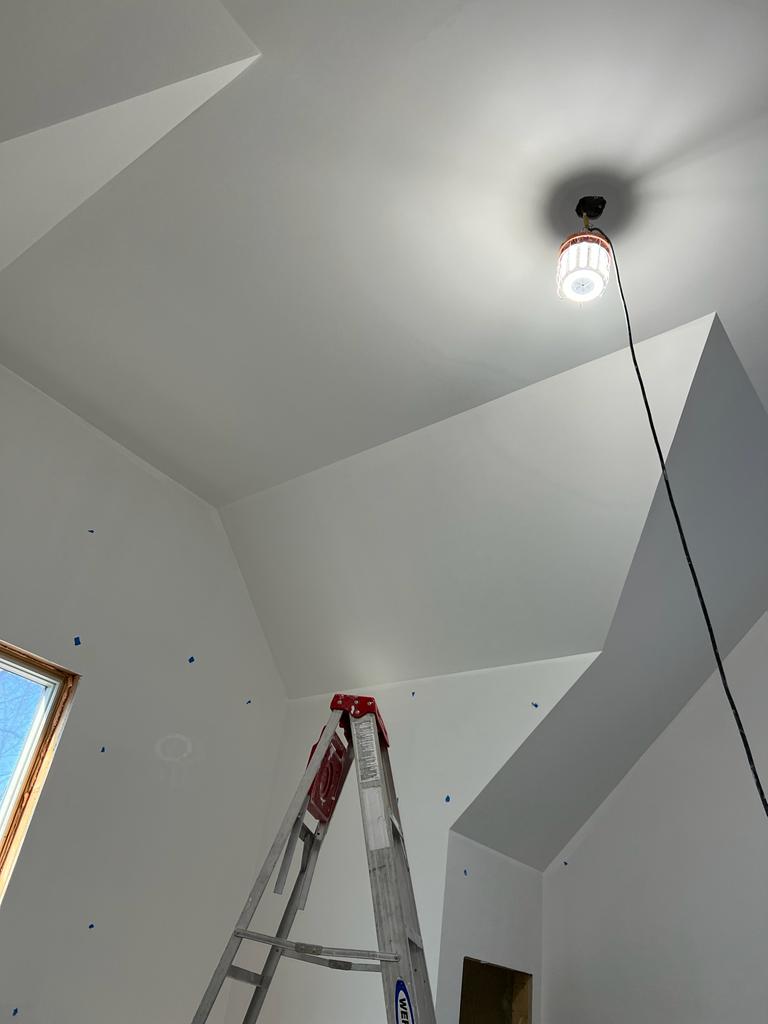
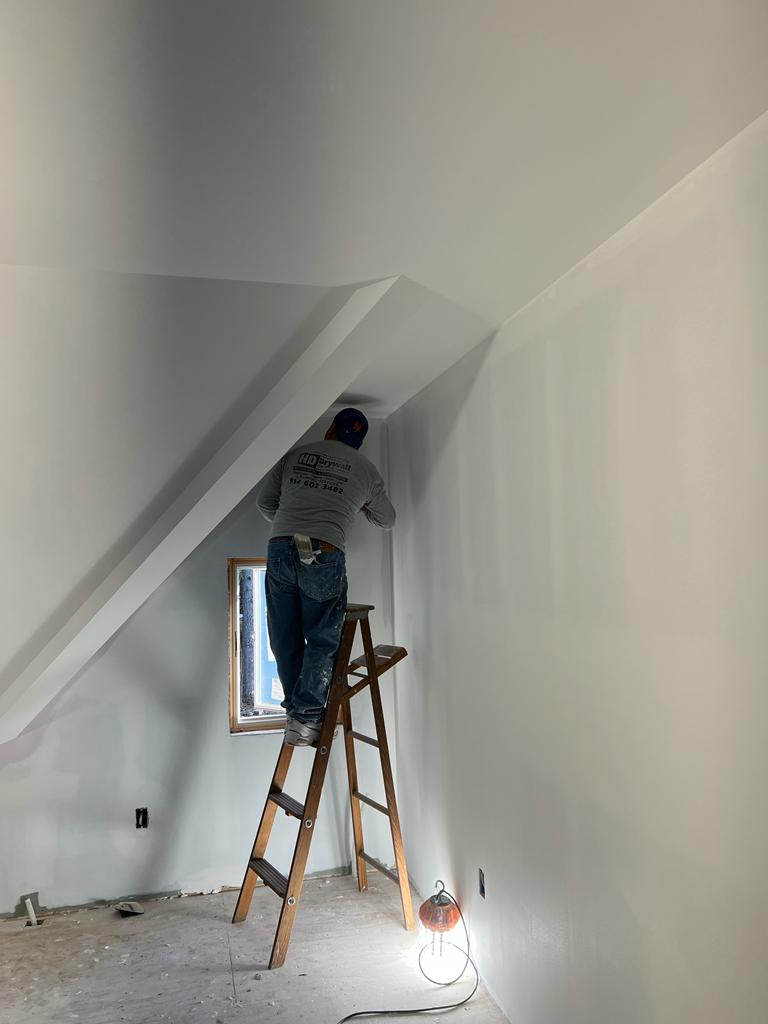
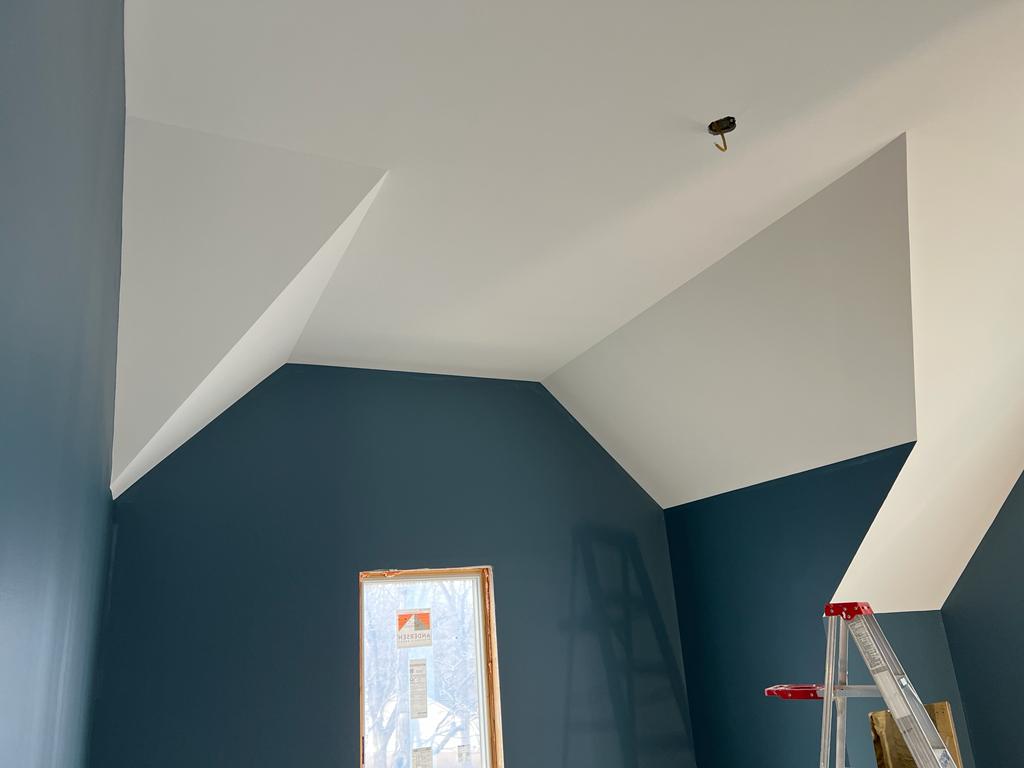
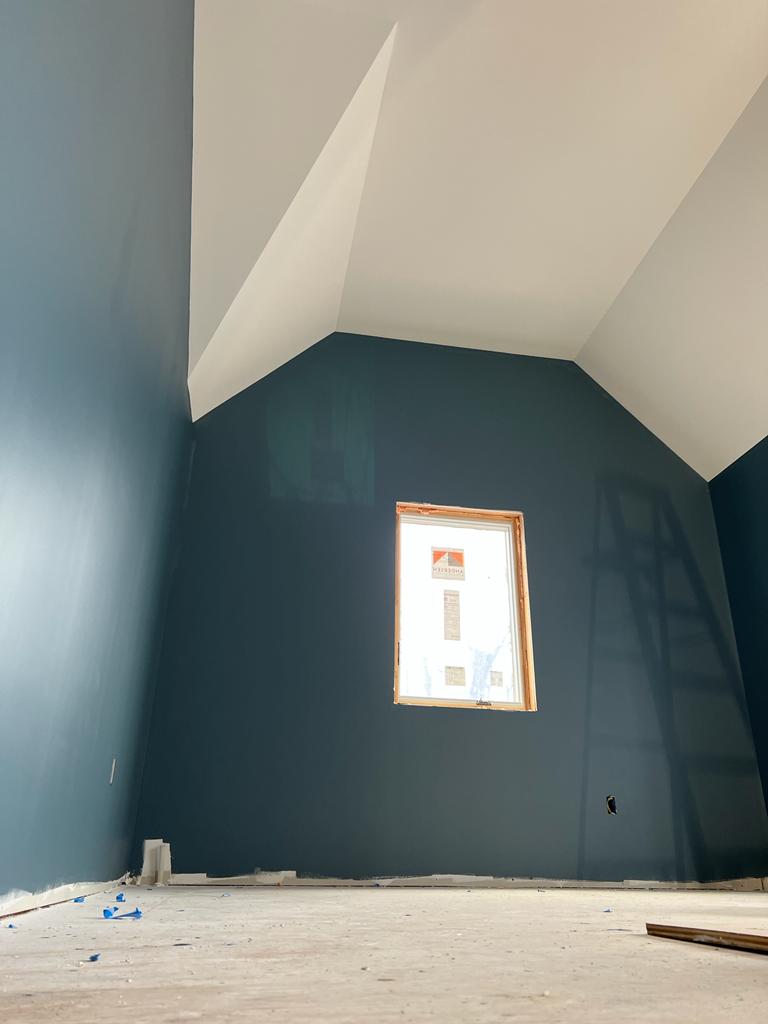
The highest quality level of gypsum board finishing. This level is recommended in areas where lighting conditions exist and areas where paint will be the final finish surface. Finishing gypsum board using level 5 recommendations is the most effective method to provide a uniform surface and to minimize the possibility of joint photographing.
It is recommended the application of high quality, high solids drywall primer, to fill the pores and equalize the suction difference. A thin skim coat, to conceal small imperfections, of joint compound trowel applied might be used following manufacturer’s recommendations, and shall be applied to the entire surface. Two separate coats of joint compound shall be applied over all flat joints, and one separate coat shall be applied over interior angles. Fastener heads and accessories shall be covered with three separate coats of joint compound.
Important Notes
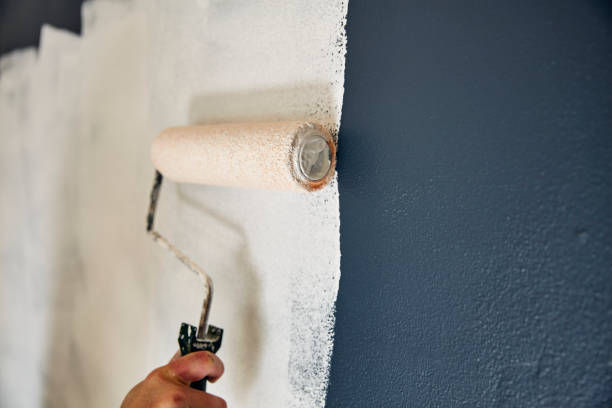
- A smooth gypsum board surface can be obtained by sanding gently with a dampened sponge, but be careful not to remove the facing paper.
- A drywall primer may not be required under certain texture applications.
- Over-painting may not be necessary if sufficient material is applied over drywall accessories.
- Some new wall covering primers claimed to minimize damage if wall coverings are to be removed.
- Always follow manufacturer recommendations.
- Texture hides imperfections while paint finishes highlight defects.


