Creative Texturing Ideas for Interior Walls: Transform Your Space with Style
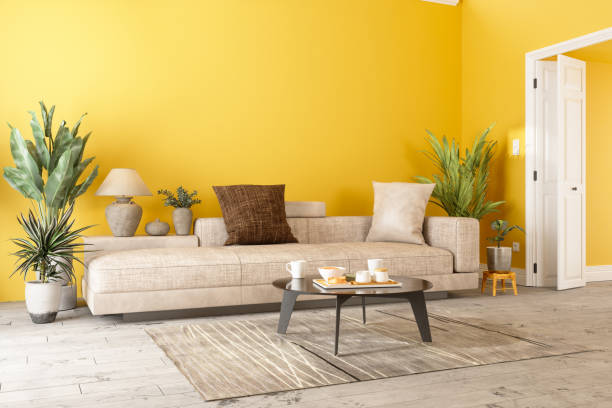
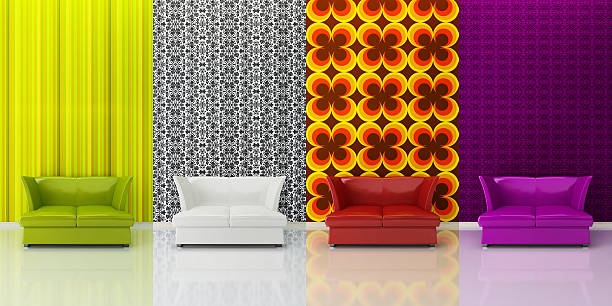
Interior wall texturing is a powerful way to add depth, character, and visual appeal to any room. Gone are the days of plain, flat walls—today’s homeowners and designers are embracing creative texturing ideas to make spaces unique and inviting. From bold modern designs to subtle, elegant finishes, texturing can suit every aesthetic and bring walls to life.
Why Consider Texturing Your Interior Walls?
Textured walls are more than just a visual upgrade. They hide imperfections, add insulation, and create an inviting ambiance. Whether you’re refreshing a single room or revamping an entire home, creative textures can make a statement while enhancing functionality.
Tools and Materials for Wall Texturing
Before diving into texturing, it’s essential to have the right tools and materials. Depending on your chosen technique, you may need:
- Joint Compound or Texturing Paste: Ideal for creating a range of patterns and finishes.
- Texturing Tools: Brushes, rollers, trowels, and sponges to shape the texture.
- Painter’s Tape and Drop Cloths: Protect surfaces and define areas.
- Primer and Paint: To finish and seal the textured wall.
Pro Tip: Experiment with sample boards to test different textures before applying them to your walls.
Creative Wall Texturing Ideas for Your Home
Here are some popular and innovative texturing ideas to inspire your next project:
1. Knockdown Texture
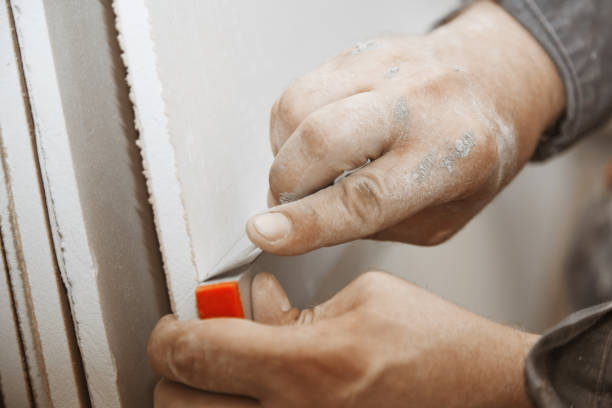
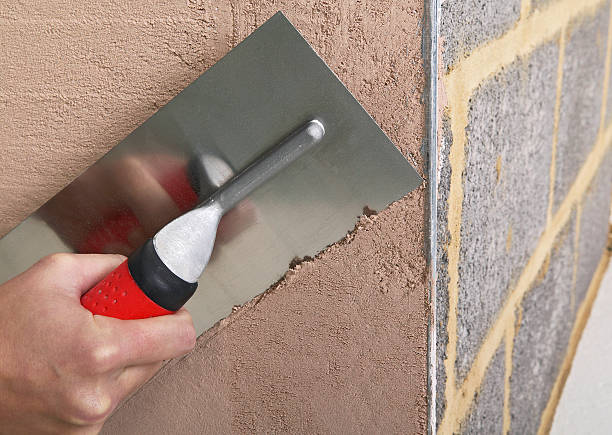
This classic technique creates a rustic, stucco-like finish that’s subtle yet sophisticated. Apply joint compound with a trowel, then lightly knock it down with a drywall knife to create a flat, textured look.
2. Venetian Plaster
For a luxurious, polished appearance, Venetian plaster is a timeless choice. This method uses layers of plaster to create depth and a smooth, marble-like finish.
3. Stippling
Add dimension with stippling, which involves applying joint compound with a roller and dabbing it with a brush or sponge to create peaks and valleys. Perfect for hiding wall imperfections.
4. Sponging Technique
Create organic, soft textures by dabbing the wall with a sponge dipped in glaze or paint. This technique works well for blending colors and creating a dynamic surface.
5. Brick or Stone Patterns
Use a stencil or stamp to mimic the appearance of brick or stone. This idea is ideal for feature walls or industrial-style interiors.
6. Swirl Texture
Swirling joint compound with a trowel or brush creates a playful, artistic look. Customize the size and direction of the swirls for a unique touch.
Learn more about texturing techniques at HD Drywall Services.
How to Apply Wall Textures Like a Professional
For the best results, follow these steps when applying wall textures:
1. Prepare the Wall Surface
Clean the wall thoroughly and repair any holes or cracks. Apply a primer to ensure the texture adheres properly.
2. Choose the Right Material
Decide between joint compound, texturing paste, or specialty paints based on the desired finish. Mix materials thoroughly to avoid lumps.
3. Apply the Texture
Using your chosen tool, apply the texture evenly across the wall. Work in small sections to maintain consistency.
4. Let It Dry Completely
Allow the texture to dry according to the material’s instructions. Drying times vary but can range from a few hours to overnight.
5. Paint and Seal
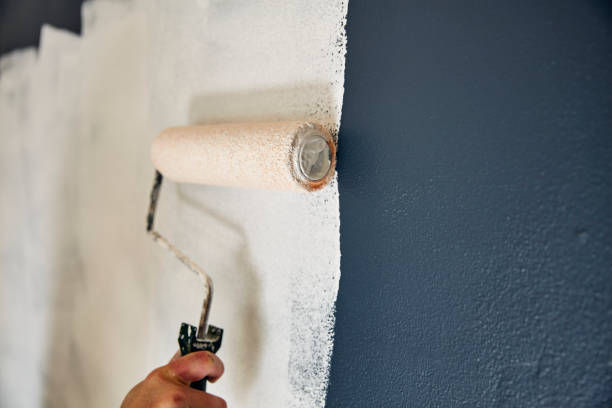
Once the texture is dry, paint the wall in your chosen color. Use a roller for smooth coverage and finish with a clear sealant if needed.
Common Mistakes to Avoid in Wall Texturing
Even with careful planning, it’s easy to encounter challenges during wall texturing. Avoid these common mistakes:
- Skipping Surface Preparation: Textures applied to dirty or damaged walls may not adhere properly.
- Using Too Much Material: Excessive joint compound can result in an uneven or heavy finish.
- Rushing the Drying Process: Applying paint or additional layers before the texture dries can ruin the finish.
Pro Tip: Always follow the manufacturer’s instructions for drying and application times.
FAQs About Creative Wall Texturing Ideas
What is the best texture for hiding wall imperfections?
Knockdown and stippling textures are excellent choices for covering minor cracks and blemishes on walls.
Can I apply textures to painted walls?
Yes, but you’ll need to clean and sand the painted surface first to ensure the texture adheres properly.
What tools are best for DIY wall texturing?
Basic tools like trowels, sponges, and texturing rollers are great for DIY projects. Specialty tools may be needed for complex designs.
How long does wall texturing take?
Depending on the technique and drying time, wall texturing can take anywhere from one day to several days.
Can textured walls be painted over?
Absolutely! Textured walls can be painted with a roller, but you may need a thicker nap cover to ensure full coverage.
Is texturing suitable for all rooms?
Yes, but certain textures work better in specific spaces. For example, Venetian plaster suits formal areas, while stippling works well in casual spaces.
Conclusion
Creative texturing ideas for interior walls can transform a plain space into a stunning masterpiece. Whether you prefer subtle elegance or bold statements, there’s a texture to suit every style. With the right tools and techniques, you can elevate your walls and create a home that reflects your personality.
For professional assistance or more design inspiration, contact HD Drywall.

