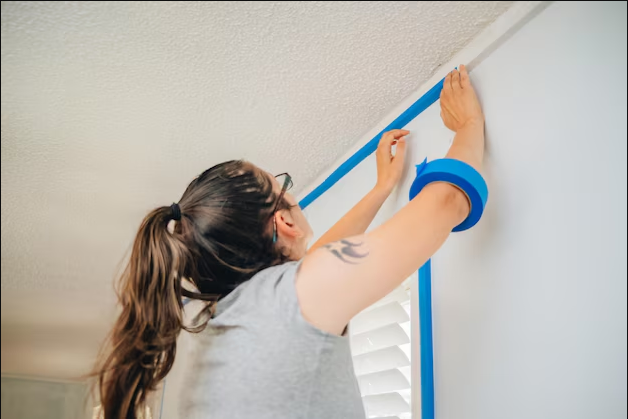
When it comes to achieving a flawless finish in your drywall projects, understanding the best practices for drywall taping is essential. Whether you’re a seasoned DIY enthusiast or just starting, mastering drywall taping can make a significant difference in the quality of your walls. In this article, we’ll walk you through the most effective techniques to ensure your drywall taping process is smooth and professional.
1. Prepare Your Tools and Materials
First and foremost, gather all the necessary tools and materials before you start taping. You’ll need:
- Joint compound
- Drywall tape (paper or mesh)
- A taping knife
- A corner trowel
- Sandpaper
- A mixing tray
Having the right tools on hand will not only make the taping process more efficient but also help you achieve better results.
2. Start with Clean and Smooth Surfaces
One of the most important best practices for drywall taping is to start with clean, smooth surfaces. Any dust, debris, or imperfections can prevent the tape from adhering properly. Therefore, use a damp cloth to wipe down the drywall and ensure it’s free of any loose material.
3. Apply a Thin Layer of Joint Compound
Next, begin by applying a thin layer of joint compound over the seams. Use your taping knife to spread the compound evenly, covering the entire seam. The key here is to apply just enough compound to create a smooth surface for the tape, without making it too thick.
4. Embed the Drywall Tape
After applying the joint compound, carefully embed the drywall tape into the wet compound. For straight seams, use paper tape, pressing it into the compound with your taping knife. For corners, use a corner trowel to place the tape precisely. Make sure there are no bubbles or wrinkles in the tape, as these can lead to future issues.
5. Smooth the Tape with Additional Compound
After embedding the tape, apply a second, thinner layer of joint compound over it. This step ensures that the tape is fully embedded and helps create a seamless transition between the taped area and the surrounding drywall. Additionally, feather the edges of the compound with your taping knife to blend it smoothly.
6. Allow Proper Drying Time
It’s crucial to allow the compound to dry completely before moving on to sanding or applying additional coats. Rushing this step can cause cracks or peeling. Depending on the humidity and temperature, drying times can vary, so be patient.
7. Sand Lightly Between Coats
Once the first coat is dry, lightly sand the surface to remove any ridges or bumps. This step is crucial for achieving a smooth finish. However, be careful not to over-sand, as this can damage the tape and compromise the overall integrity of the joint.
8. Apply Additional Coats as Needed
For a professional finish, you may need to apply additional coats of joint compound. Each subsequent coat should be thinner than the last, with edges feathered to create a seamless appearance. Usually, two to three coats are sufficient for most projects.
9. Final Sanding and Touch-Ups
After the final coat of joint compound has dried, perform a final sanding to smooth out the surface completely. Pay special attention to the transitions between the taped area and the drywall. If necessary, do minor touch-ups with a thin layer of compound, then sand again for a perfect finish.
10. Prime and Paint
Finally, with the taping and sanding complete, your drywall is ready for priming and painting. Priming is essential as it helps the paint adhere better and gives you an even finish. After priming, paint the wall with your chosen color to complete the project.
For more in-depth advice or professional drywall services, visit HD Drywall Services. Learn about our company on our About Us page, or reach out to us via our Contact page. Additionally, follow us on Facebook for the latest tips and updates.
