Applying a perfect skim coat can transform your walls, giving them a smooth, flawless finish. Whether you’re prepping for paint or simply refreshing your space, mastering this technique is essential. Let’s dive into the steps to achieve that perfect skim coat.
1. Gather Your Tools and Materials
First and foremost, gather all necessary tools and materials. You’ll need:
- Joint compound
- A mixing tray
- A trowel or putty knife
- A hawk (optional)
- Sandpaper
- A sanding block or pole sander
- A drop cloth to protect your floors
- A dust mask and goggles for safety
Having everything ready before you start ensures a smoother process.
2. Prepare the Surface
Before applying the skim coat, it’s crucial to prepare the wall surface. Clean the wall thoroughly, removing any dust, dirt, or grease. Additionally, if there are any loose or flaking paint areas, scrape them off. Furthermore, fill any large holes or cracks with joint compound and let it dry completely. Finally, sand the patched areas smooth.
3. Mix the Joint Compound
Next, mix the joint compound to the right consistency. The compound should be smooth and creamy, without lumps. If it’s too thick, add a little water and mix thoroughly. A smooth mix ensures an even application and easier spreading.
4. Apply the First Coat
Begin by applying a thin layer of joint compound to the wall. Use your trowel or putty knife to spread the compound evenly, starting at the top of the wall and working your way down. Hold the trowel at a slight angle and use long, smooth strokes. Consequently, aim for a consistent thickness across the wall.
5. Let it Dry and Sand Smooth
After applying the first coat, let it dry completely. Drying times can vary depending on the humidity and temperature. Once dry, sand the wall lightly with fine-grit sandpaper to smooth out any ridges or bumps. Additionally, wipe away the dust with a damp cloth.
6. Apply Additional Coats
For a perfect finish, you’ll likely need to apply multiple coats of joint compound. Each additional coat should be thinner than the previous one. After each coat, let it dry completely, then sand smooth. Typically, two to three coats are sufficient.
7. Final Sanding
Once you’ve applied the final coat and it’s completely dry, do a thorough sanding of the entire wall. Use a sanding block or pole sander with fine-grit sandpaper for this step. Your goal is to achieve a perfectly smooth surface. However, be careful not to sand too aggressively, as you could damage the skim coat.
8. Clean the Surface
After sanding, clean the wall to remove all dust. Use a vacuum with a brush attachment or a damp cloth to wipe down the wall. This step is crucial, especially if you plan to paint the wall afterward.
9. Prime the Wall
Before painting, apply a coat of primer to the wall. Primer helps the paint adhere better and provides a uniform base for the topcoat. Choose a high-quality primer suitable for your wall type.
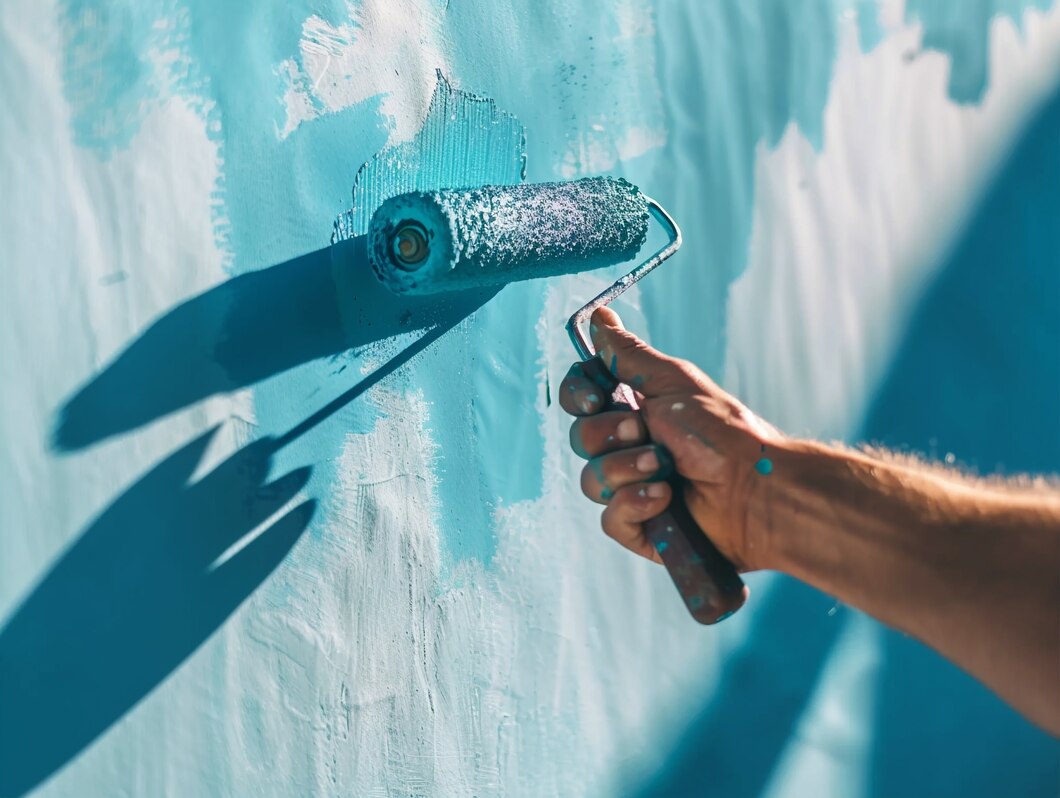
10. Paint
Finally, once the primer is dry, paint the wall with your chosen color. Use a roller for large areas and a brush for edges and corners. Apply at least two coats of paint for the best coverage and finish, letting each coat dry completely before applying the next.
For more detailed guidance on drywall and skim coating techniques, visit HD Drywall Services. Learn about our expertise on our About Us page, or get in touch with us through our Contact page. Don’t forget to follow us on Facebook for the latest updates and tips.