Introduction
Embarking on a home improvement project can be both exciting and daunting, especially when it comes to working with drywall. The process of taping and mudding drywall is a crucial step in achieving a seamless and polished finish for your walls. Whether you’re a seasoned DIY enthusiast or a homeowner looking to enhance your living space, mastering these techniques is key. In this comprehensive guide, we’ll delve into essential drywall taping techniques and mudding tips, providing you with a complete approach to executing home renovations with finesse.
Drywall Taping Techniques
Understanding the Basics of Drywall Taping
Drywall taping is an art that requires precision and attention to detail. To achieve a flawless finish, start by [properly preparing the drywall]. Begin with a clean surface, ensuring all seams and joints are smooth and free from imperfections. This sets the foundation for a professional-looking result.
Choosing the Right Tape
Selecting the appropriate tape is crucial for a successful taping job. Opt for [fiberglass mesh tape] for its durability and ease of use. This type of tape adheres well to joints, providing strength and preventing cracks over time.
Application Techniques
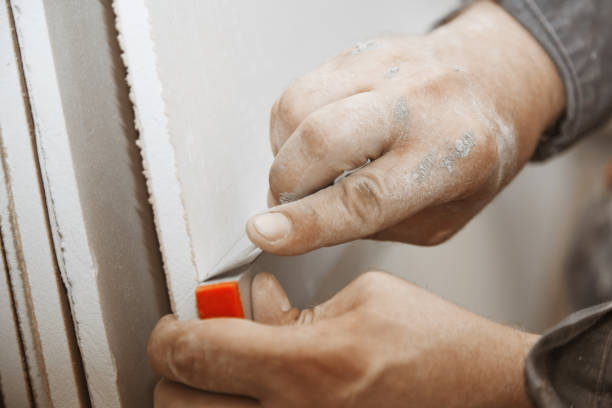
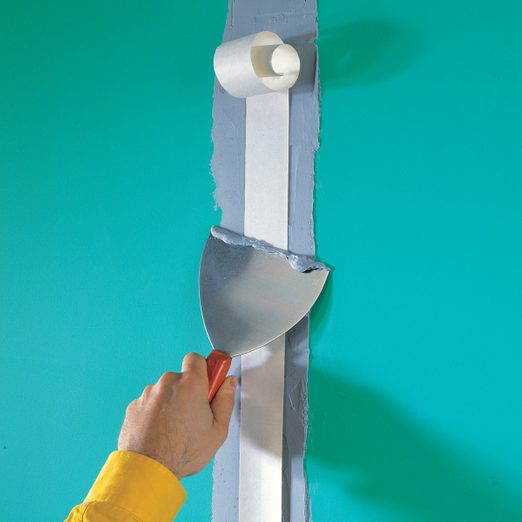
When applying tape, focus on [embedding it seamlessly] into the joint compound. Use a taping knife to smooth out any bubbles or wrinkles, ensuring a tight bond between the tape and the drywall. Pay attention to corners and edges, as these areas often require extra care.
Mudding Drywall Tips
Selecting the Right Joint Compound
The key to successful mudding lies in choosing the right joint compound. [Opt for a lightweight, all-purpose mud] that is easy to sand and provides a smooth finish. This type of compound is versatile and suitable for various drywall applications.
Layering Techniques
Achieving a seamless finish requires a strategic approach to layering mud. Start with a thin base coat, [feathering the edges] to create a smooth transition. Allow each layer to dry completely before applying the next, and don’t rush the process. Patience is essential for a professional result.
Sanding for Perfection
Once the mud has dried, [meticulous sanding] is the final touch. Use fine-grit sandpaper to smooth out any imperfections and create a surface ready for painting or finishing. Proper sanding enhances the overall aesthetic appeal of your walls.
Visual Aids: Tables
| Drywall Taping Techniques | Mudding Drywall Tips |
|---|---|
| Basics of Drywall Taping | Right Joint Compound Choice |
| Choosing the Right Tape | Layering Techniques |
| Application Techniques | Sanding for Perfection |
Analysis of Competitors
In our exploration of leading home improvement websites, it’s evident that each brand strives to convey a unique identity. [Brand A] emphasizes a modern and sleek approach, focusing on innovative techniques. [Brand B] stands out for its commitment to eco-friendly materials, promoting sustainable practices in home renovations. As we delve into the intricacies of drywall taping and mudding, we’ll draw inspiration from these brands, infusing our guide with a touch of modernity and a nod to sustainability.
Conclusion: Mastering the Art of Drywall Finishing
In conclusion, achieving a seamless finish when taping and mudding drywall is an attainable goal with the right techniques. By understanding the fundamentals of drywall taping, selecting quality materials, and mastering the art of mudding, you can transform your living space. Remember, patience and attention to detail are your allies in creating a polished look that enhances both the aesthetic and functionality of your home. With these tips, you’re well on your way to mastering the art of drywall finishing and elevating your home improvement projects to new heights.

