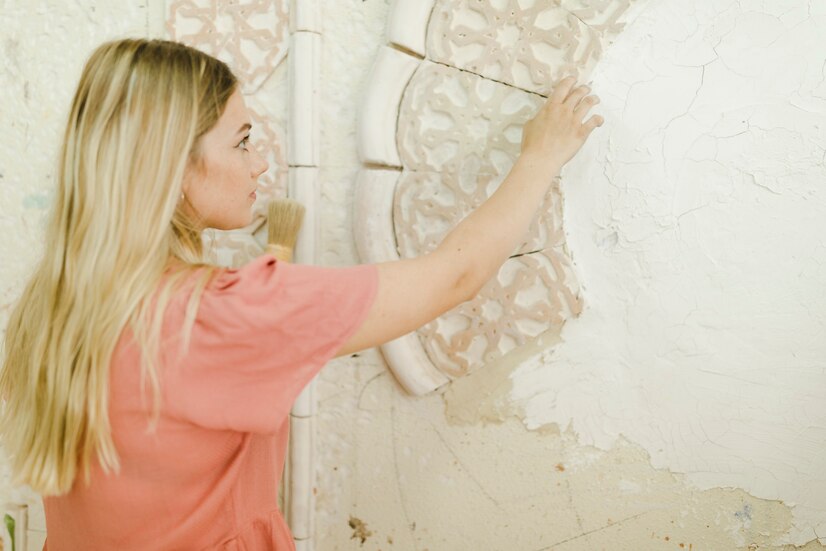
When it comes to adding depth and character to a room, creating textured walls is an excellent approach. Textured walls not only enhance the aesthetic appeal of a space but also provide a unique and stylish backdrop for any interior design. In this article, we’ll explore various techniques and tips to help you achieve the perfect textured wall finish in your home.
1. Understanding the Benefits of Textured Walls
Before diving into the techniques, it’s essential to understand why textured walls are a popular choice. Not only do they add visual interest, but they can also hide minor imperfections in the drywall. Additionally, textured walls are durable and can withstand wear and tear better than flat surfaces.
2. Choosing the Right Texture Style
When creating textured walls, selecting the right texture style is crucial. There are several popular options to choose from, including:
- Orange Peel: A subtle, dimpled texture that resembles the skin of an orange.
- Knockdown: Similar to orange peel but flattened slightly for a more rustic look.
- Skip Trowel: A hand-applied texture with a Mediterranean feel.
- Popcorn: A heavier texture often used on ceilings.
Each texture style offers a different aesthetic, so choose one that complements your overall design vision.
3. Preparing the Surface
Proper preparation is key to successfully creating textured walls. Start by cleaning the walls thoroughly to remove any dust, dirt, or grease. Next, repair any cracks, holes, or imperfections with joint compound, and sand the surface smooth. Priming the wall before applying texture ensures better adhesion and a more uniform finish.
4. Applying the Texture
The method you choose to apply the texture will depend on the style you’ve selected. Here’s how to achieve some of the most popular textures:
- Orange Peel and Knockdown: Use a texture sprayer to apply a thin, even layer of joint compound to the wall. For knockdown, wait for the compound to partially dry, then use a trowel to flatten the peaks.
- Skip Trowel: Apply a thin layer of joint compound with a trowel, skipping over areas to create a unique pattern. This method requires some practice to master.
- Popcorn: Mix a special popcorn ceiling texture product and use a hopper gun to spray it onto the surface. This technique is often used on ceilings rather than walls.
5. Letting the Texture Dry
Once you’ve applied the texture, it’s crucial to let it dry completely. Depending on the humidity and temperature, drying times can vary. Patience is key here; rushing the process can lead to uneven results or even damage the texture.
6. Painting the Textured Wall
After the texture has dried, it’s time to paint. Textured walls often require more paint than flat walls due to the increased surface area. Use a high-quality roller designed for textured surfaces to ensure even coverage. Start with a primer coat to seal the texture, then apply your chosen paint color. For added dimension, consider using a glaze or applying a second color using a sponge or ragging technique.
7. Maintaining Textured Walls
Maintaining textured walls is relatively simple. Dust them regularly using a soft brush attachment on your vacuum cleaner. For stains or marks, use a mild detergent and a soft sponge. Avoid using abrasive cleaners or scrub brushes, as these can damage the texture.
8. DIY vs. Professional Application
While creating textured walls can be a fun DIY project, some textures and techniques may require professional help, especially if you’re aiming for a complex or intricate design. Consider hiring a professional if you’re unsure about tackling the project yourself or if you want to ensure the highest quality finish.
For more detailed guidance on creating textured walls or to hire professional services, visit HD Drywall Services. Learn about our company on our About Us page, or get in touch with us via our Contact page. Don’t forget to follow us on Facebook for the latest tips and updates.

