Introduction
Embarking on a home improvement journey can be both exciting and challenging. One of the fundamental aspects of transforming your living space is understanding the ins and outs of drywall installation. In this comprehensive guide, we’ll walk you through the step-by-step process, answering crucial questions like How, What, When, How much, Why, and Where. Whether you’re a seasoned DIY enthusiast or a novice looking to enhance your home’s aesthetics and functionality, this guide is tailored to provide you with a complete approach to executing home renovations.
Drywall Installation Guide: Unveiling the Secrets
How: Understanding the Basics
Before diving into the actual installation process, it’s essential to grasp the basics of drywall. Drywall, also known as plasterboard or wallboard, is a material commonly used for constructing interior walls and ceilings. The first step in your journey involves gathering the necessary tools and materials. Refer to our comprehensive table below for a detailed checklist.
Tools and Materials for Drywall Installation:
| Tool/Material | Purpose |
|---|---|
| Drywall sheets | Primary building material for walls/ceilings |
| Utility knife | Cutting drywall sheets |
| Joint compound | Filling joints and seams |
| Drywall screws | Securing drywall to studs |
| Taping knife | Applying joint compound |
| T-square | Ensuring straight cuts |
| Screw gun or drill | Installing drywall screws |
What: Step-by-Step Drywall Process
Now that you have your tools ready, let’s delve into the step-by-step process of drywall installation.
Step 1: Measurement and Planning Begin by measuring the area where you’ll install drywall. Plan for doors, windows, and outlets, ensuring accurate dimensions.
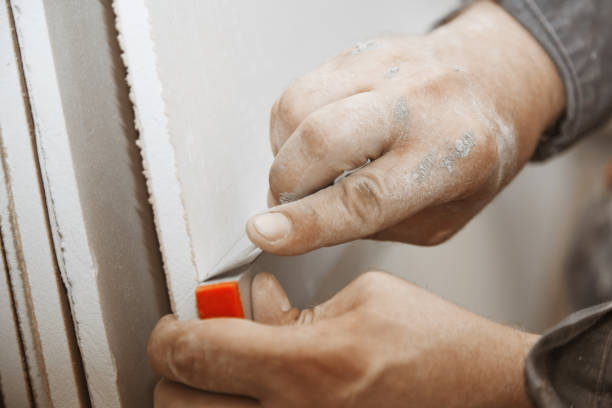
Step 2: Cutting Drywall Sheets Use a utility knife and T-square to make precise cuts on the drywall sheets, customizing them to fit your space.
Step 3: Attaching Drywall to Studs Secure the drywall sheets to the wall studs using drywall screws. Make sure to leave a small gap between sheets for expansion.
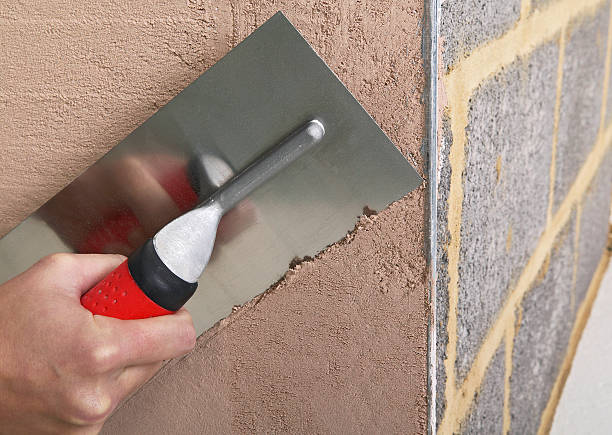
Step 4: Taping and Mudding Apply joint compound with a taping knife to cover seams and screw indentations. Use mesh tape for added strength.
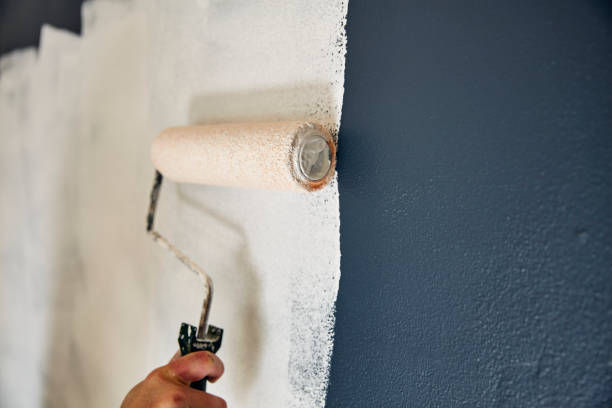
Step 5: Sanding and Finishing Once the joint compound dries, sand the surface for a smooth finish. Repeat the taping and mudding process as needed.
When: Ideal Times for Drywall Installation
Choosing the right time for your drywall project is crucial. Ideally, plan your installation during mild weather conditions. Extreme temperatures and humidity levels can affect the drying time of joint compounds.
How Much: Budgeting for Your Project
Budgeting plays a vital role in any home improvement project. Calculate the cost of materials, tools, and potential professional assistance to ensure a smooth and cost-effective drywall installation.
Why: The Importance of Quality Drywall Installation
A well-executed drywall installation enhances the aesthetics and structural integrity of your home. Properly installed drywall provides a smooth canvas for paint and other finishes, creating a polished and refined look.
Where: Finding Inspiration and Assistance
Whether you’re revamping your living room or transforming your basement, finding inspiration is key. Explore online resources, home improvement magazines, and local hardware stores for ideas. Additionally, seeking professional advice can ensure a successful project.
Competitor Analysis: Crafting Unique Value
In analyzing leading home improvement websites like [], we observe a commitment to delivering expert advice, innovative solutions, and a passion for enhancing homes. Each brand strives to convey a unique identity:
- []: Emphasizes a modern and minimalist approach, focusing on cutting-edge techniques for efficient home transformations. Their content exudes sophistication, targeting homeowners with a penchant for contemporary design.
- []: Radiates warmth and accessibility, positioning itself as the go-to source for family-friendly home improvement. Their emphasis on DIY projects resonates with a broad audience, fostering a sense of empowerment.
- []: Showcases a blend of timeless elegance and practicality. Their content appeals to those seeking classic design elements while integrating the latest trends. The emphasis on durability reflects a commitment to long-lasting results.
Adapting these principles, our guide aims to strike a balance between modern techniques, family-friendly approaches, and timeless design, ensuring a guide that resonates with a diverse audience.
Conclusion: Your Path to Home Transformation
In conclusion, mastering the art of drywall installation opens doors to a world of home transformation possibilities. Armed with our comprehensive guide and inspired by the unique styles of leading brands, you’re well-equipped to embark on your journey. Remember, each step is a brushstroke on the canvas of your home, and with precision and passion, you’ll create a masterpiece that reflects your vision and enhances your living space. Happy renovating!